
When cleaning your grinder, remove parts like the hopper, burrs, and detachable chambers to clean thoroughly and prevent buildup. However, avoid touching internal electrical components, sealed bearings, or the motor, as these are not meant to be handled or cleaned directly. Handling only removable parts and gentle tools keeps your grinder safe and in good shape. If you want detailed guidance on what to safely remove or leave alone, you’ll find helpful tips below.
Key Takeaways
- Remove removable parts like hopper, burrs, and chambers for thorough cleaning; leave internal motor and electrical components untouched.
- Avoid handling sealed bearings, internal wiring, and motor parts to prevent damage and safety risks.
- Use gentle tools such as brushes and damp cloths, avoiding water or harsh chemicals on electrical or sealed parts.
- Dry all cleaned parts thoroughly to prevent moisture buildup and potential corrosion.
- Follow manufacturer guidelines for disassembly and cleaning to avoid voiding warranties or damaging components.
Why Regular Cleaning Keeps Your Coffee Grinder Fresh and Lasting
Regularly cleaning your coffee grinder is essential because it prevents the buildup of old coffee oils and residues that can affect the flavor of your brews. A consistent cleaning schedule ensures that your grinder stays in prime condition, preserving the fresh, rich taste of your coffee. Neglecting grinder maintenance can lead to stale flavors and clogging, reducing the grinder’s efficiency over time. By sticking to a routine, you remove trapped oils and particles that accumulate with each use, preventing rancidity and flavor transfer. Proper maintenance also involves understanding the contrast ratio and other technical aspects that influence the quality of your ground coffee, ensuring optimal performance. Additionally, awareness of grinder components can help you identify which parts require more frequent cleaning to prevent wear and tear. Implementing a cleaning routine can significantly extend your grinder’s lifespan and maintain consistent coffee quality. Regular cleaning also supports the performance of your grinder by minimizing mechanical issues caused by residue buildup. Being familiar with your grinder’s internal mechanisms can help you perform targeted maintenance and avoid unnecessary repairs. Make cleaning a priority, and your grinder will deliver consistently fresh grounds, making each cup exceptional.
Which Parts Should You Remove for Safe, Effective Cleaning
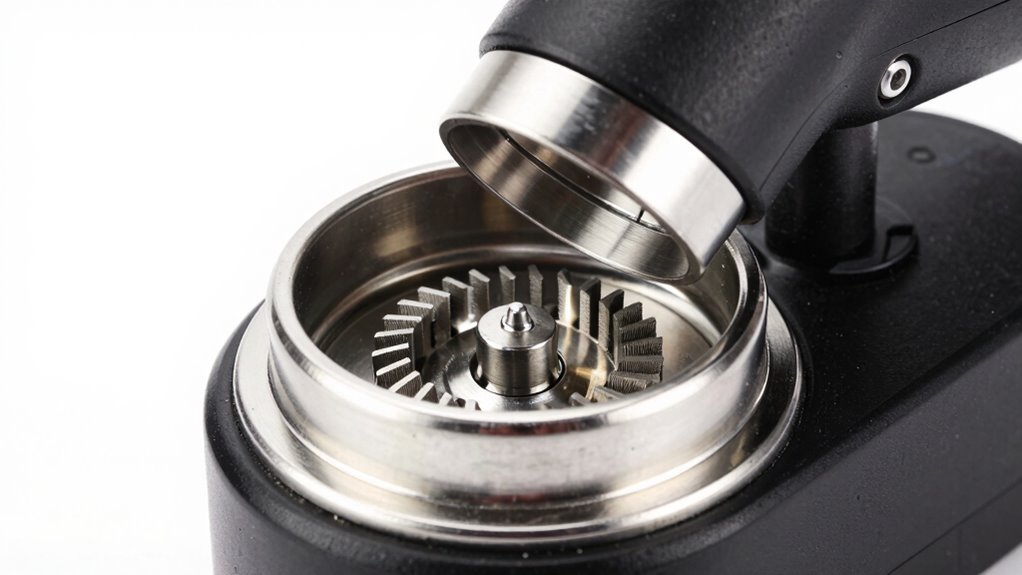
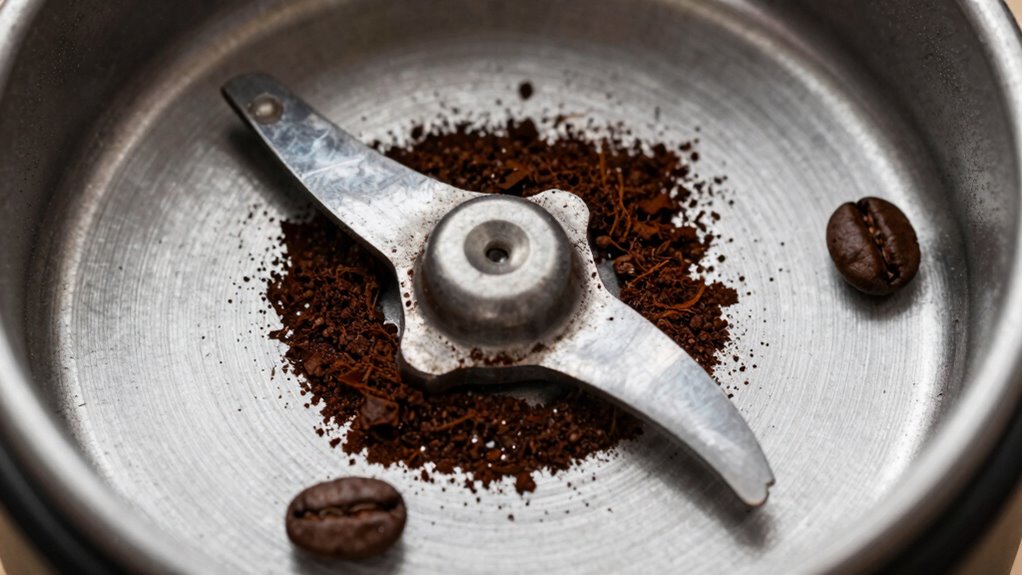
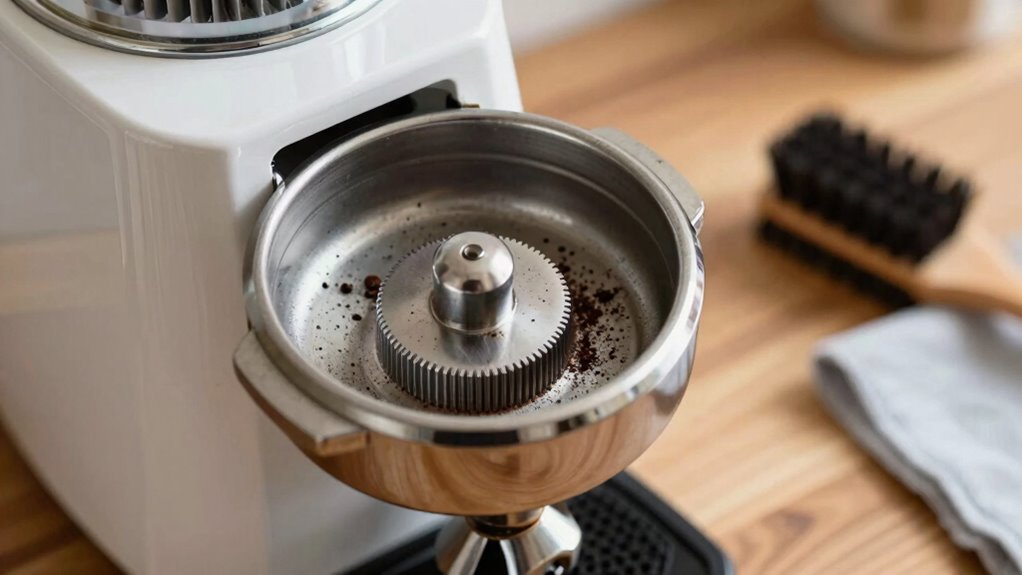
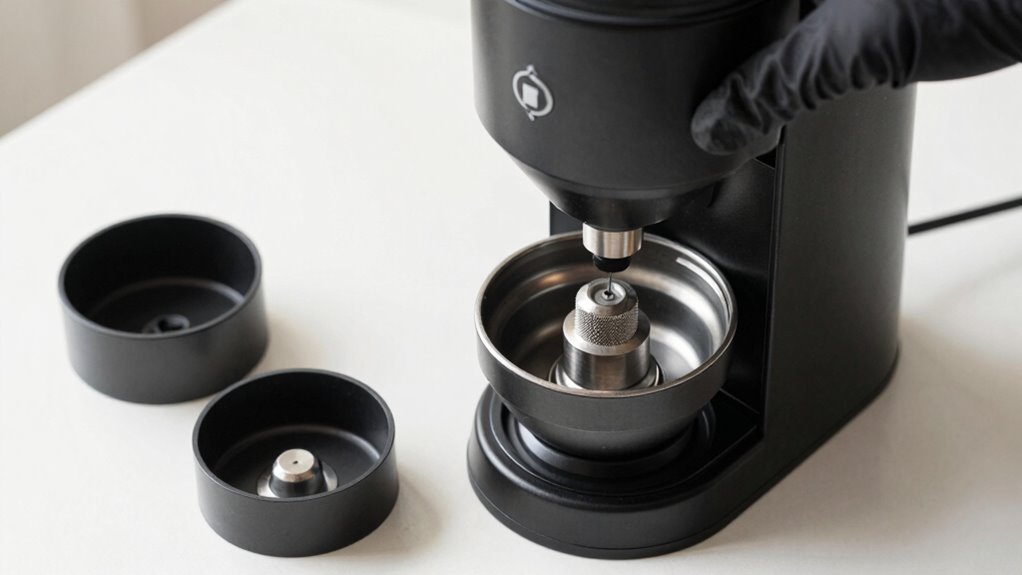
Before you start cleaning your coffee grinder, it’s important to identify which parts can be safely removed to guarantee effective cleaning without causing damage. Typically, removable components include the hopper, burrs or blades, and any detachable trays or chambers. Consult your maintenance schedule to see if these parts are designed for easy removal and cleaning. Removing these parts allows thorough cleaning and helps prevent build-up that can affect flavor. Keep in mind that some replacement parts, like burrs, may wear out over time and should be replaced following the manufacturer’s guidelines. Avoid removing fixed internal components that aren’t meant to be taken apart, as this could damage your grinder or void warranties. Properly removing and cleaning these parts ensures maximum performance and longevity. Additionally, understanding the disassembly process can help prevent accidental damage during cleaning. Being familiar with proper cleaning techniques can also help maintain your grinder’s optimal operation and extend its lifespan. Incorporating routine maintenance is key to preventing buildup and clogging that can impair functionality over time.
What Parts Should You Never Touch When Cleaning
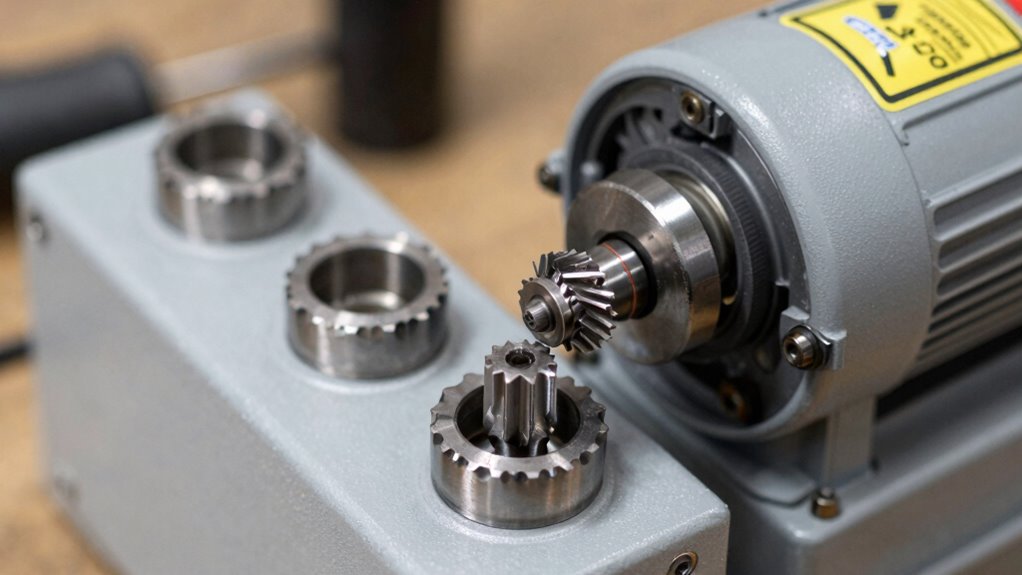
While removing parts like the hopper and burrs is safe and recommended for cleaning, there are components you should never touch. Avoid tampering with the motor, electrical wiring, or internal circuitry, as mishandling can cause damage or pose safety risks. Always observe safety precautions to prevent injury or electrical shock. Keep in mind that unauthorized disassembly might void your warranty, so consult your manufacturer’s guidelines before attempting any repairs. Do not clean or spray liquids on electrical parts, as moisture can cause short circuits. Instead, focus on exterior cleaning and removable parts. Leaving sensitive components untouched ensures your grinder remains safe to operate and maintains its warranty protections. Proper understanding of electrical safety is essential when maintaining your equipment. Being aware of security zone info helps you recognize which parts are critical and should be handled with caution. Additionally, understanding electrical safety protocols can help prevent accidents during cleaning and maintenance. Knowing how to identify hazardous components can further enhance your safety awareness. Always disconnect the power source before servicing to minimize shock risk, and use insulated tools whenever working near electrical parts. Prioritize safety and manufacturer instructions to keep your grinder in top condition.
How to Disassemble and Clean Your Grinder Safely
To disassemble your grinder safely, start by removing the hopper and burrs carefully, following the manufacturer’s instructions. Make sure you disconnect it from the power source before cleaning to avoid accidents. Use proper cleaning tools and gentle techniques to keep your grinder in top shape without damaging any parts. Additionally, understanding luggage & bags can help ensure your equipment stays protected during cleaning and transport. Knowing the net worth of various individuals can also motivate you to maintain your equipment properly as part of your valuable belongings. Incorporating energy-efficient practices into your cleaning routine can further enhance the sustainability of your equipment maintenance. Proper thermal management during cleaning can also prevent damage to sensitive components and prolong your grinder’s lifespan. Being mindful of maintenance schedules ensures you don’t overlook important upkeep tasks that keep your grinder functioning optimally.
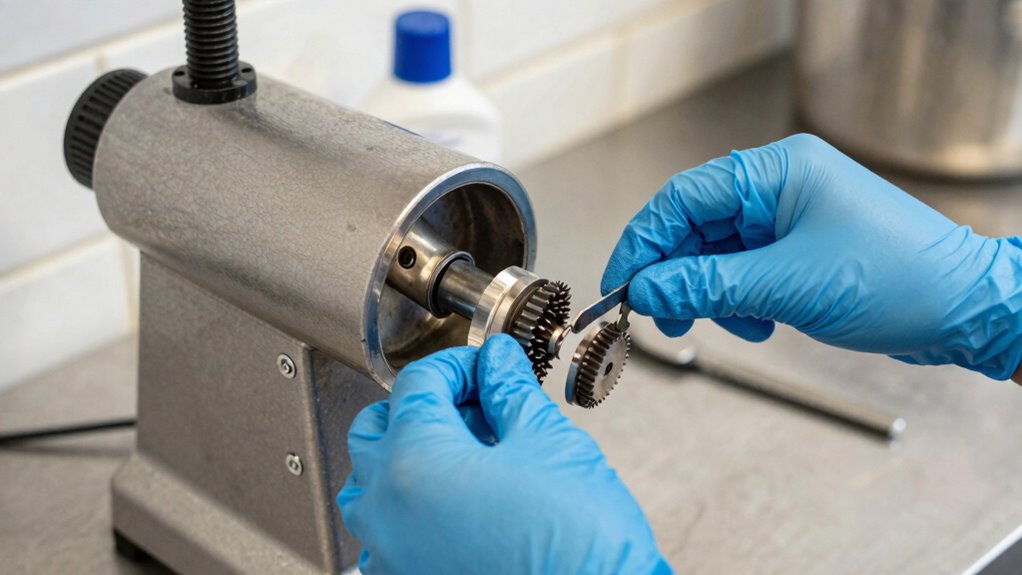
Proper Disassembly Techniques
Disassembling your grinder carefully is essential for safe and effective cleaning. To guarantee proper disassembly safety, start by unplugging your device and removing any residual grounds. Use the appropriate cleaning tools, such as brushes or small screwdrivers, to avoid damaging parts. Take note of how components fit together, perhaps by taking photos, so reassembly is easier. Handle all parts gently, especially delicate or easily breakable pieces. Avoid forcing any components apart, as this can cause damage. Keep screws and small parts organized to prevent loss. Remember, patience is key — rushing can lead to accidents or broken parts. Proper disassembly techniques include working methodically and avoiding shortcuts to prevent mishaps. Once disassembled, clean each part thoroughly with suitable tools before reassembling, ensuring your grinder stays in top shape and safe to use. Be aware of material sensitivities such as nonstick coatings or carbon steel surfaces to prevent damage during cleaning.
Safe Cleaning Procedures
Before you start cleaning your grinder, make sure it’s unplugged and all residual grounds are removed to prevent accidents. Carefully disassemble the grinder, following proper techniques to avoid damaging parts. Use a soft brush or cloth to remove coffee bean residues, which helps maintain coffee bean freshness and reduces grinder noise during operation. Avoid water on electrical components; instead, opt for dry cleaning methods. Here’s a quick guide:
| Step | Tip |
|---|---|
| Remove burrs or blades | Handle with care to prevent damage |
| Clean with dry brush | Prevents coffee bean buildup |
| Check for blockages | Ensures smooth grinding |
| Reassemble properly | Ensures safety and noise reduction |
Regular maintenance of your grinder also supports grinder longevity and consistent coffee quality. Incorporating proper cleaning techniques can significantly extend your grinder’s lifespan and improve your daily coffee experience. This process keeps your grinder clean, efficient, and quieter, prolonging its lifespan.
How to Clean Burrs and Blades Without Damage
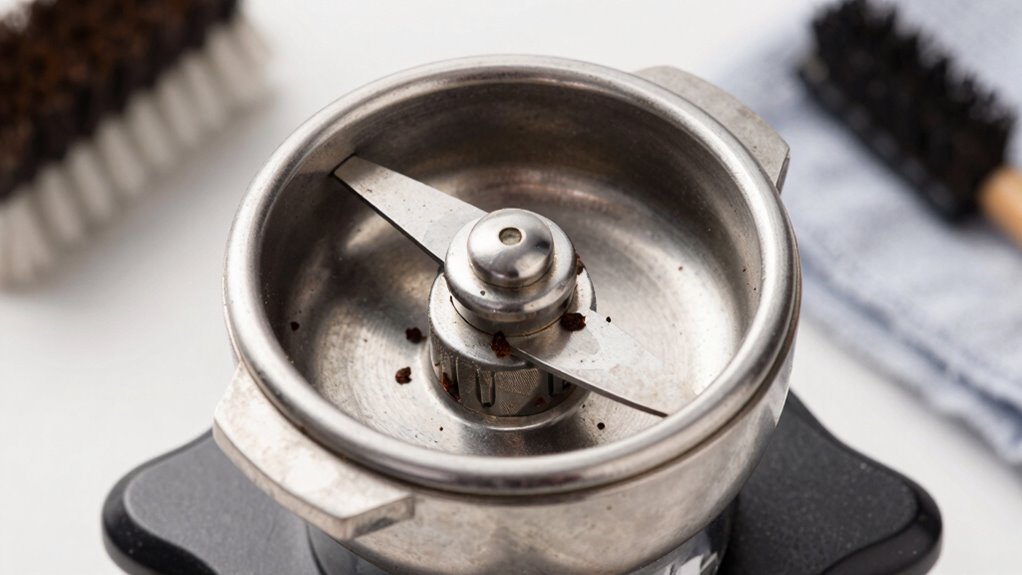
Cleaning burrs and blades carefully is essential to maintaining your grinder’s performance without causing damage. Use the right cleaning tools, such as a soft brush or a specialized grinder cleaning brush, to remove coffee grounds without scratching or dulling the burrs. Avoid harsh abrasives or metal tools that can chip or deform blades. Always unplug your grinder before cleaning, and handle the burrs gently to prevent misalignment. For stubborn residue, use a damp cloth or a small amount of grinder-specific cleaning solution, being sure to dry everything thoroughly afterward. Regular maintenance with appropriate tools keeps your grinder in top shape, ensuring consistent grind quality and longevity. Proper cleaning techniques help you avoid costly repairs and preserve the precision of your burrs and blades. Additionally, air purifier maintenance practices can help maintain a clean environment around your grinder, reducing dust and debris that could affect its performance.
Quick Tips to Keep Your Grinder Clean Between Deep Cleans

To keep your grinder spotless between deep cleans, make it a habit to wipe down the exterior regularly. Always clear out the brew pathways to prevent buildup that can affect flavor. Additionally, guarantee you dry all parts thoroughly to avoid moisture buildup that could cause mold or rust.
Wipe Down Regularly
Ever wonder how to keep your grinder in top shape between deep cleans? Regularly wiping it down prevents dust buildup and oily residues from accumulating. Use a soft, dry cloth or a slightly damp microfiber towel to remove surface dust and oils after each use. Focus on the exterior and accessible parts, avoiding internal components that shouldn’t get wet. This quick step helps maintain the grinder’s performance and reduces the need for more intensive cleaning later. If you notice stubborn oily spots, gently wipe them with a small amount of cleaner recommended by your manufacturer. Consistent wipe-downs ensure your grinder stays hygienic and functions smoothly, making deep cleans less frequent and more effective. This simple habit keeps your equipment in excellent condition.
Clear Brew Pathways
Keeping the brew pathways clear is essential for maintaining ideal coffee flavor and preventing clogs. Regular brew pathway maintenance ensures your grinder’s airflow stays unobstructed, which helps produce consistent grounds. After each use, gently tap or brush out any loose coffee grounds from the chute and burrs. Use a soft brush or compressed air to clear debris without dislodging parts. Avoid using liquids that could introduce moisture, as this can cause buildup or rust. By keeping pathways free of residual grounds, you promote better airflow, which improves grinding efficiency and flavor extraction. Incorporate quick cleaning routines into your routine—like brushing out the chute—and you’ll extend your grinder’s lifespan while enjoying fresh, flavorful coffee every time.
Avoid Moisture Buildup
Moisture can quickly compromise your grinder’s performance, so it’s important to prevent buildup between deep cleans. To achieve moisture prevention, always store your grinder in a dry, cool place away from humidity. Make sure the grinder is completely dry before putting it away—wipe down any residual moisture with a clean cloth. Use airtight containers or storage tips that keep out moisture and air exposure, reducing the risk of mold or rust. Avoid leaving beans or grounds inside for extended periods, especially in damp environments. Regularly inspecting and cleaning the grinder’s removable parts helps prevent moisture accumulation. By following these simple storage tips, you’ll keep your grinder dry and in top condition, ensuring consistent performance and fresh brews every time.
Common Cleaning Mistakes and How to Avoid Them
One common mistake people make when cleaning grinders is using harsh chemicals or abrasive tools, which can damage the machine’s components. Instead, stick to gentle cleaning methods to preserve grinder lubrication and maintain ideal performance. Over-cleaning can also be problematic, so follow a proper cleaning frequency to avoid unnecessary wear. Here’s a quick guide:
| Mistake | How to Avoid | Tip |
|---|---|---|
| Using abrasive tools | Use soft brushes or cloths | Prevents scratching and damage |
| Over-cleaning | Clean only when needed | Maintains proper grinder lubrication |
| Ignoring cleaning frequency | Establish a routine | Keeps grinder in top shape |
| Neglecting drying | Fully dry parts after cleaning | Prevents moisture buildup |
| Using harsh chemicals | Use mild cleaning solutions | Protects components and finishes |
Frequently Asked Questions
How Often Should I Deep Clean My Coffee Grinder?
You should deep clean your coffee grinder at least once a month to maintain ideal performance. Follow a regular maintenance schedule, especially if you brew daily, to prevent buildup of coffee oils and residue. Depending on how often you use it, you might need to clean more frequently. Regular cleaning ensures your grinder stays in top shape, enhancing flavor and extending its lifespan.
Can I Use Soap or Cleaning Chemicals on My Grinder?
Think of your grinder as a delicate garden; you wouldn’t use harsh chemicals on fragile flowers. You can’t use soap or cleaning chemicals safely because they leave residues that taint your brew. Stick to dry brushes and specialized grinder cleaners instead. Soap safety is key—avoid it altogether. Using cleaning chemicals can ruin your grinder and affect taste, so treat it gently and keep your coffee pure and flavorful.
What Signs Indicate My Grinder Needs Professional Servicing?
You should seek professional servicing if your grinder makes unusual noise or you’re experiencing inconsistent grind size. These signs indicate internal issues or worn-out parts that require expert attention. Ignoring these problems can damage your grinder further or affect your coffee quality. Don’t delay; schedule a repair to ensure your grinder functions smoothly and consistently, maintaining the best flavor in your brews.
Is It Safe to Immerse Parts of My Grinder in Water?
Think of your grinder like a ship—water and electrical safety don’t mix. Never immerse parts of your grinder in water, as water immersion can damage electrical components and pose shock risks. Instead, opt for dry cleaning methods or damp cloths to remove residues. Prioritize electrical safety by keeping all electrical parts dry and avoiding water contact, ensuring your grinder stays safe and functional.
How Do I Prevent Damage During the Cleaning Process?
To prevent damage during cleaning, you should regularly check your blades maintenance and adjust your cleaning frequency accordingly. Avoid soaking parts in water, especially electrical components, and use a soft brush to remove debris. Always unplug your grinder before cleaning, and dry all parts thoroughly. This approach helps maintain blade sharpness and prevents rust, ensuring your grinder stays in good shape and functions safely over time.
Conclusion
Regular cleaning keeps your coffee grinder performing its best and lasting longer. For example, if you forget to clean burrs after a few weeks, you might notice uneven grinds or stale flavors. By safely removing removable parts and avoiding damage to sensitive components, you guarantee consistent results. Just like a barista who cleans their grinder daily, you’ll enjoy fresher coffee and fewer costly repairs—making every brew taste perfect.