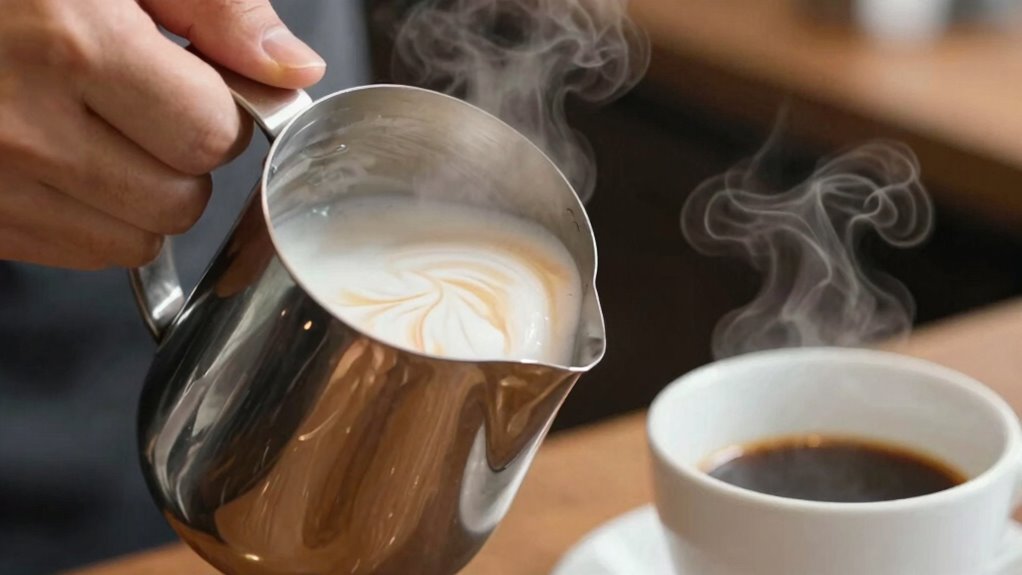

To practice milk texture without wasting espresso, start by steaming small amounts of milk or inexpensive water. Focus on creating silky microfoam by controlling your steaming technique and listening for gentle hissing. Adjust your pouring angle and speed to perfect patterns like hearts or rosettas. Using these methods helps you refine your skills without pricey ingredients. Keep experimenting with your techniques, and you’ll discover more tips to master latte art efficiently.

Get kitchen gear delivered free with Prime
- Fast, free delivery on millions of items
- Prime Video, Amazon Music and more included
- Member-only deals all year
Key Takeaways
- Use inexpensive milk or water with a small pitcher to simulate steaming practice.
- Focus on achieving microfoam and proper texture without involving espresso.
- Practice steaming techniques, listening for hissing and controlling temperature, without wasting coffee.
- Pour into clear glasses or containers to observe foam behavior and improve control.
- Repeatedly practice steaming and pouring to develop skills before using espresso shots.

Practicing milk texture is essential for anyone looking to master the art of creating perfect coffee drinks. You don’t need to waste espresso every time you want to improve your skills. Instead, focus on practicing with just milk and water or using inexpensive coffee alternatives. This allows you to refine your technique without the pressure of using valuable ingredients. The key to great milk texturing is understanding foam consistency, which influences how well you can create latte art. When you perfect the foam, you’ll find it easier to pour smooth, glossy designs that stay sharp and clear.
Start by steaming milk in small quantities, about half a cup, to get a feel for how the milk reacts to temperature and aeration. Don’t rush this process. As you steam, listen for a gentle hissing sound, indicating the milk is aerating properly. Your goal is to produce a silky, velvety foam with microbubbles that are tiny and uniform. This foam consistency is vital because it creates the smooth texture needed for latte art. If the foam is too frothy or airy, your designs will be less precise, and the milk won’t blend seamlessly with the espresso. Understanding foam behavior is crucial for developing control over your milk texture and achieving consistent results. Additionally, observing how the foam reacts to different steaming times can help you better understand foam stability.
Once you’ve steamed the milk to the right temperature—around 140-150°F—you can practice pouring techniques without wasting espresso. Fill a pitcher with milk, then submerge the tip just below the surface to introduce air, creating the microfoam. After a few seconds, submerge the tip deeper to continue heating the milk without adding more air. This process helps you develop control over foam density and texture. To practice, pour the milk into a container or a clear glass, focusing on creating different patterns, like hearts or rosettas, just by adjusting your pouring angle and speed. Developing knowing foam behavior is crucial for refining your latte art skills while practicing foam consistency.
Products Worth Considering

De'Longhi Rivelia Automatic Espresso Machine with Milk Frother – White

DeLonghi Rivelia Automatic Espresso Machine Bundle with Grinder and Frother, Beige

Ninja Kitchen System Pro, 1500W, 72oz Pitcher, 8-Cup, Black, BL770
As an affiliate, we earn on qualifying purchases.
Frequently Asked Questions
Can I Practice Milk Texture With Non-Dairy Milk Alternatives?
Yes, you can practice milk texture with non-dairy milk alternatives. While non-dairy challenges like different foamability exist, you can adapt with alternative techniques such as adjusting steaming time or temperature. Using options like oat or soy milk, which foam well, helps you refine your skills without wasting espresso. Practice consistently, and you’ll develop a better understanding of how each alternative reacts, improving your overall milk texturing skills.
What Tools Are Best for Practicing Milk Texture at Home?
You should use a good-quality milk frothing pitcher and an espresso machine with a steam wand to practice milk steaming techniques. These tools help you control foam density and achieve silky microfoam. If you don’t have an espresso machine, an electric frother or handheld milk frother can also work. Focus on adjusting steam pressure and angle to master creating consistent, velvety milk textures at home.
How Long Should Each Practice Session Last?
You should aim for practice sessions lasting about 10 to 15 minutes. During this time, focus on milk steaming to develop foam consistency, adjusting your technique as needed. Shorter sessions help you stay focused and prevent fatigue, allowing you to refine your skills gradually. Consistent, dedicated practice improves your ability to create perfect milk texture, making each session productive without feeling overwhelming or rushed.
Is It Necessary to Use a Thermometer During Practice?
Using a thermometer during practice isn’t necessary, but it helps with temperature control and guarantees consistent results. It guides you in mastering frothing techniques by showing you the ideal milk temperature, typically around 140-150°F. Relying on visual cues and your feel for the milk can work, but a thermometer provides precision, especially when you’re learning. Over time, you’ll develop a sense for perfect milk texture without needing it.
Can I Speed up the Milk Frothing Process Safely?
In the days of yore, you’d never rush a good brew, and that applies here too. You can speed up the milk frothing process safely by slightly increasing the steam wand’s temperature, but don’t go overboard. Focus on consistent frothing techniques to maintain proper milk temperature, ensuring your milk gets the right texture without risking scorching or losing quality. Patience and proper technique always yield the best results.
Conclusion
Remember, practice makes perfect, and patience is key. By consistently honing your milk texture skills without wasting espresso, you’ll see steady improvement. Don’t rush the process—each small step brings you closer to barista-level results. As the saying goes, “A journey of a thousand miles begins with a single step.” Keep practicing, stay dedicated, and you’ll master milk textures in no time. Your perfect latte is just around the corner!