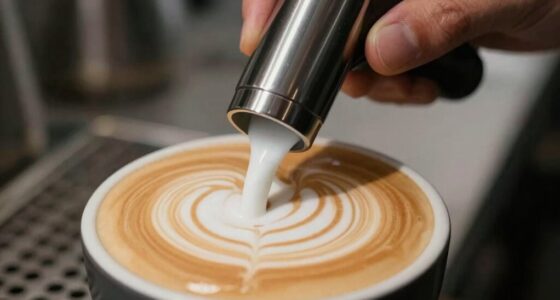
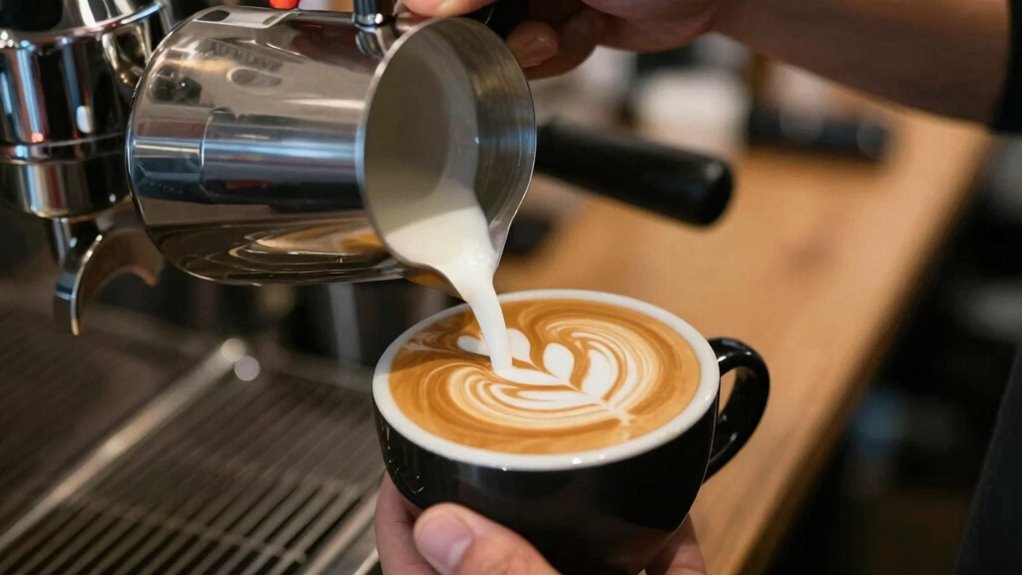
To prevent blobs in your latte art, keep the pour height just right—usually around 3-4 inches above the cup. Pouring too high causes thin streams that splash and disrupt your pattern, while too low results in sluggish flow and uneven designs. Maintaining a steady, controlled height helps you achieve crisp, clean patterns. Mastering this simple rule considerably improves your latte art skills—stay with us to discover more tips that will elevate your pouring technique.
Key Takeaways
- Maintain a consistent pour height of about 3-4 inches above the cup to prevent blobs and uneven patterns.
- Lower the pitcher gradually during pouring to control milk flow and avoid sudden bursts that cause blobs.
- Use wider-mouthed cups to facilitate better pour height control and pattern precision.
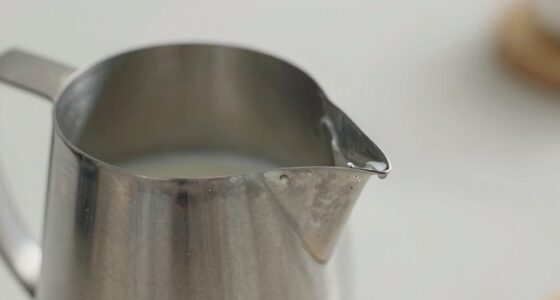
- Ensure milk is steamed to 140-150°F for smooth flow, reducing the chance of blobs forming.
- Practice slow, steady pours from a fixed height to develop muscle memory and minimize irregular pattern formation.
Why Proper Pour Height Is Essential for Great Latte Art
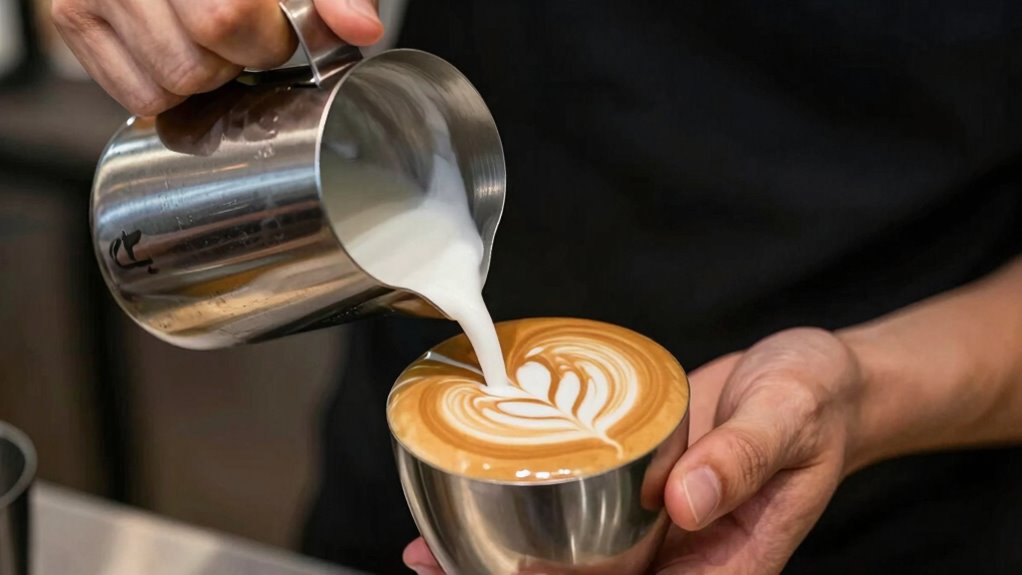
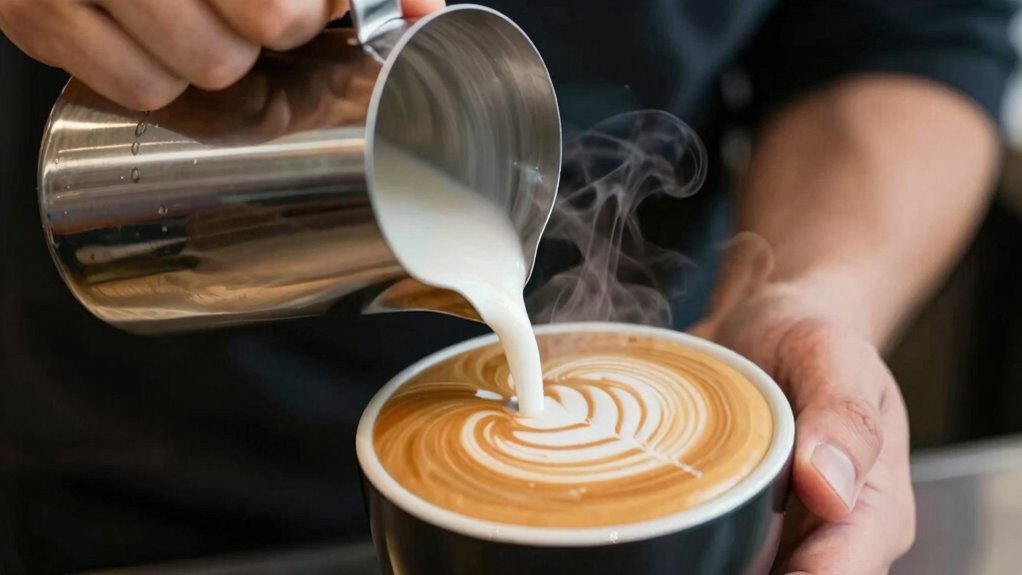
The height from which you pour the milk considerably impacts the quality of your latte art. If you pour from too high, the milk splashes and creates uneven patterns, making it harder to achieve smooth designs. Conversely, pouring from too low can cause the milk to flow too slowly, affecting the milk temperature and resulting in underdeveloped microfoam. The ideal pour height allows the milk to flow steadily, promoting better control and consistency. Adjusting for cup size is essential: larger cups require a slightly higher pour to reach the surface, while smaller cups need a lower pour to avoid overfilling. Mastering this balance helps you maintain the right milk flow, ensuring your latte art stays crisp and visually appealing.
How Pour Height Influences Milk Flow and Pattern Clarity

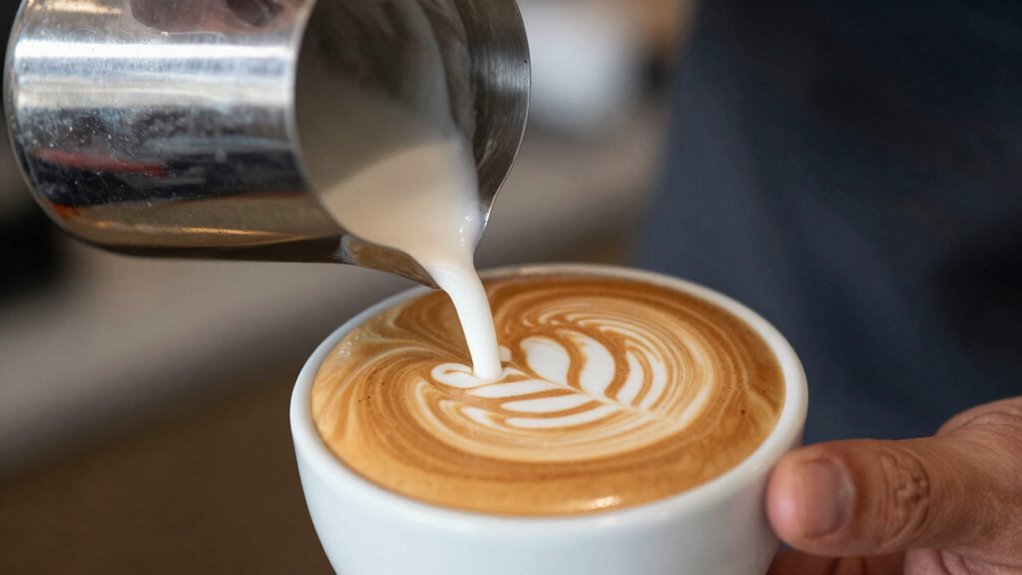
Pour height directly affects how your milk flows onto the espresso surface, shaping the pattern’s clarity. If you pour from too high, the milk stream becomes thin and fast, making it harder to control the flow and resulting in less distinct patterns. A lower pour height creates a thicker, steadier milk flow, giving you better precision. This control is essential for achieving sharp, well-defined latte art. Additionally, your milk texture plays a role; a properly textured, silky milk will flow smoothly, enhancing pattern clarity. The quality of your espresso also matters—crisp, well-pulled shots provide a better surface for milk to sit on, making your patterns more vibrant and easier to manipulate. Mastering pour height helps optimize milk flow, improving both texture and pattern definition. Proper calibration of your espresso machine can also influence the surface quality, making your latte art more vivid and easier to create. Ensuring consistent milk steaming techniques can further improve the smoothness and flow of your milk, contributing to clearer patterns. Paying attention to temperature control during steaming also ensures the milk maintains optimal viscosity for better pour control and pattern precision. Additionally, understanding how pressure consistency affects milk flow can help you refine your pouring technique for more precise art. Developing a consistent pouring rhythm can further enhance your ability to produce clean, sharp designs.
Finding Your Perfect Pour Height: Step-by-Step Guide
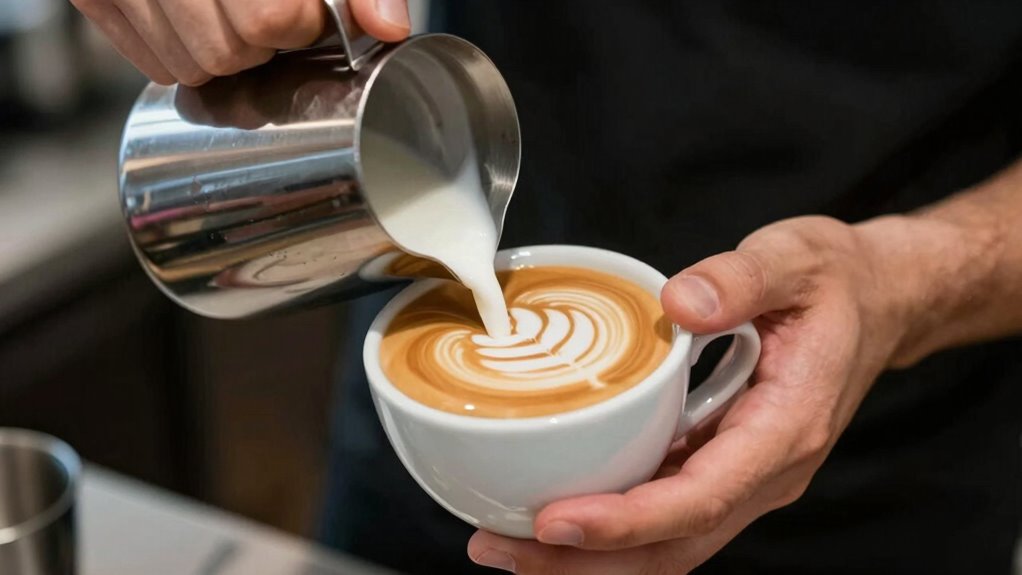
Have you ever wondered how to find that perfect pour height that makes your latte art pop? It’s all about balancing milk temperature, cup selection, and your pouring technique. To get started, choose cups that suit your pour style—wider mouths help control height better. Keep your milk at the ideal temperature, around 140-150°F, for smooth flow. Then, follow these steps:
Master your pour height by choosing the right cups, maintaining ideal milk temperature, and practicing steady, controlled movements.
- Start with a slightly higher pour height, around 3-4 inches, to establish the base.
- Gradually lower the jug as you pour, maintaining steady flow.
- Watch for the milk surface, adjusting height to prevent blobs which can ruin your design.
- Use consistent, slow movements for better control.
- Experiment with different cup shapes to see what works best for your pour height.
- Remember, mastering technique fundamentals can improve overall precision and control in your latte art. Practicing these fundamentals helps you develop a better understanding of pouring control, crucial for creating intricate patterns. Developing visual awareness can also help you recognize when your pour height needs adjustment. Finding the right height takes practice, but these tips set a solid foundation.
Common Pouring Mistakes: High or Low? How to Correct Them
If your pour is too high or too low, it can ruin your latte art. You need to identify the correct pouring height and adjust your technique accordingly. Proper wave and wind techniques can also influence your pouring accuracy, ensuring consistent patterns. Additionally, practicing with awareness of free floating foam can help you achieve smoother, more defined designs. Using the right application method can further enhance the precision of your latte art. Being mindful of fin and forage principles, such as selecting the right equipment and materials, can also improve your overall technique and results. Developing a storytelling approach to your technique can make the learning process more engaging and memorable.
Identifying Pouring Height
Wondering how to tell if you’re pouring from the right height? The key is observing the flow and resulting pattern. Too high, and the milk may splash, disrupting the cup shape, and affecting milk temperature control. Too low, and your pour might be sluggish, causing uneven latte art. To identify the correct height:
- Watch for a steady, controlled flow without splashing
- Ensure the milk forms a smooth, even surface before pouring
- Notice if the cup maintains its shape, not distorting or overflowing
- Check that the milk temperature stays consistent, avoiding rapid cooling or warming
- Adjust your height based on the cup shape; narrower cups need a slightly lower pour for precision
Mastering pour height helps prevent blob patterns and improves overall latte art quality.
Adjusting Technique Correctly
Adjusting your pouring technique is essential to correct high or low pour mistakes and achieve clean, consistent latte art. If your pour is too high, it can disturb the delicate espresso crema, causing blobs or uneven patterns. Lower your pour height gradually, ensuring the milk flows smoothly without breaking the crema’s surface. Conversely, if your pour is too low, the milk may sink too fast, creating thin lines or weak designs. Aim for a steady, moderate height to maintain control. Check your milk temperature; too hot or cold milk affects flow and consistency. Practice adjusting your pour height while observing the crema’s response. Small changes can make a big difference in preventing blobs and producing sharp, defined latte art.
Easy Techniques to Keep Your Pour Height Consistent
Maintaining a consistent pour height is essential for achieving beautiful latte art, and the key lies in developing a steady hand and mindful technique. To do this, focus on controlling your movements and environment. Keep the milk temperature ideal, as it affects flow and pour consistency. Select cups with a stable, wide base to prevent wobbling. Here are easy techniques to help:
- Maintain a relaxed grip on your pitcher for better control
- Use a slow, steady pour to regulate height
- Practice pouring from a consistent distance above the cup rim
- Adjust your pitcher angle to influence flow rate and height
- Keep your wrist steady, minimizing sudden movements
- Understand the importance of flow rate control to maintain a uniform pour height
- Be aware of pouring technique factors that influence the overall consistency of your latte art.
Practice Tips to Master Pour Height Control
Practicing pour height control regularly helps you develop a steady hand and build muscle memory. To improve, focus on maintaining the right milk temperature; too hot or cold can affect flow and control. Pay attention to your cup shape, as wider cups require different pour heights than narrower ones. Start with small adjustments, lifting your pitcher just enough to keep a consistent height. Practice pouring from a consistent distance, slowing down as needed to prevent blobs. Use a visual marker or a timer to track your consistency over time. As you become more comfortable, experiment with slight variations in height to see how it impacts your latte art. Regular practice, combined with awareness of milk temperature and cup shape, sharpens your pour control.
Troubleshooting: Why Do Blobs Still Appear and How to Fix Them

Blobs often appear in latte art when the milk flow is too fast or inconsistent, causing irregular drops rather than smooth, controlled pours. To fix this, consider your milk temperature and cup shape. Properly steamed milk should be around 140-150°F to maintain a steady flow. Additionally, using a cup with a wider opening helps control the pour’s direction and speed. Monitoring small appliance performance and making adjustments can also improve your pouring consistency. Understanding nanotechnology principles can inspire more precise control techniques in pouring and equipment design. Incorporating passive voice detection tools into your editing process can help identify and correct such issues for clearer, more engaging writing. Paying attention to candy varieties and innovations like cotton candy grapes or cake pops can also inspire creative presentation styles in your latte art.
- Make sure your milk is steamed to the right temperature for smooth pouring
- Use a cup that supports better control with a wider mouth
- Adjust your pour speed to maintain consistency
- Keep the milk pitcher at the correct angle and height
- Practice gentle, steady pours to prevent abrupt drops
Addressing these factors helps eliminate blobs and results in cleaner, more precise latte art.
How Mastering Pour Height Will Elevate Your Overall Latte Art Skills
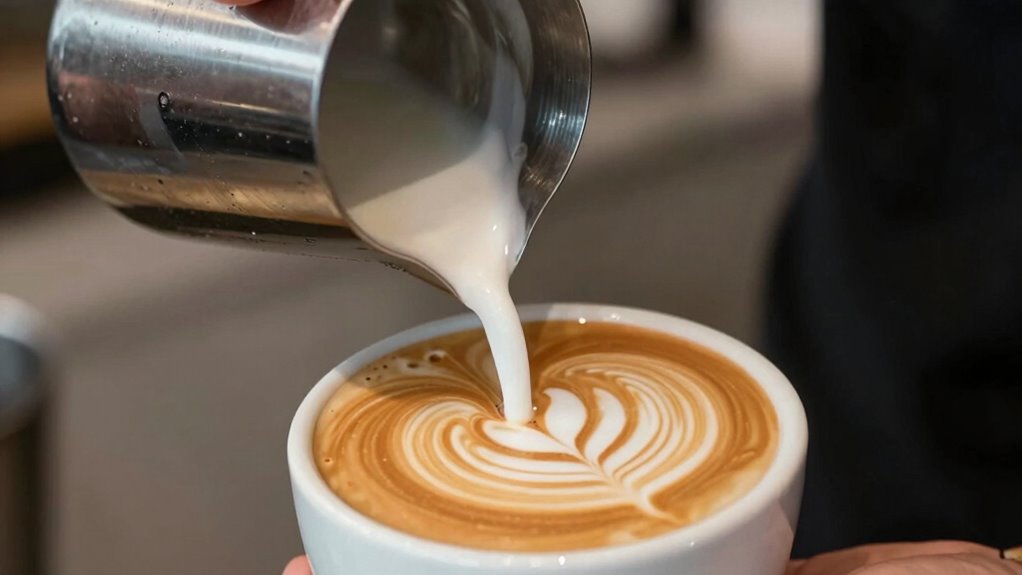
Mastering the height at which you pour your milk can dramatically improve the quality of your latte art. When you pour too high, the milk may spread unevenly, causing blobs or broken patterns. Keeping the pour at the right height allows for better control over the milk flow and helps create smooth, defined designs. Proper milk temperature is essential; it ensures your milk is velvety and flows consistently. Additionally, selecting the right cup size and shape influences how the milk interacts with the espresso, making it easier to place art precisely. By adjusting your pour height, you gain better command over the contrast between the crema and milk, elevating your overall latte art skills and producing cleaner, more professional-looking patterns. Consistent pouring techniques in pouring can also improve your Sound control and precision. Developing your pouring technique helps you maintain steady control and achieve more intricate designs.
Frequently Asked Questions
What Tools Can Help Measure Pour Height Accurately?
To measure your pour height accurately, you can use simple measuring tools like a ruler or a small, portable measuring tape. Some baristas also prefer using a calibrated pour spout with marked levels, which helps control and maintain consistent pour height. Practice with these tools improves your precision, helping you avoid blob patterns and create better latte art. Consistent pour height makes your designs sharper and more professional.
How Does Milk Temperature Affect Pour Height Consistency?
You’ll find that milk temperature considerably impacts pour height consistency because proper milk frothing ensures temperature stability. When your milk is too hot or too cold, it can cause uneven flow and inconsistent latte art. By maintaining a steady temperature during frothing, you help control the milk’s viscosity, making it easier to pour at the right height. This stability allows you to create clean, precise patterns without blobs or disruptions.
Can Pour Height Improve Latte Art Speed?
Think of pour height as the race track for your latte art—keeping it steady speeds up your process. When you master milk frothing and maintain consistent pour height, your latte art accuracy improves, allowing you to create designs faster. Practicing these techniques reduces hesitation and hesitation, making your pours quicker and cleaner. So, yes, controlling pour height can markedly boost your latte art speed, helping you craft beautiful designs more efficiently.
Is There an Ideal Pour Height for Different Latte Art Designs?
Yes, there’s an ideal pour height for different latte art designs. Maintaining pour height consistency helps you achieve better design precision, ensuring clean lines and sharp patterns. For most designs, a moderate height allows control and prevents blobs, while lower heights give you more finesse for intricate details. Adjust your pour height based on the pattern you want, practicing to develop a steady hand and consistent technique for consistent results.
How Do Environmental Factors Influence Pour Height Control?
Environmental factors like steam pressure and ambient humidity directly impact your pour height control. For example, in a humid café, higher moisture levels can make the milk thicker, requiring you to adjust your pour height slightly lower to maintain flow. Similarly, inconsistent steam pressure affects milk texture, making it harder to control pour height precisely. Being aware of these factors helps you adapt and create cleaner latte art even in changing environments.
Conclusion
Mastering the pour height might seem tricky at first, but with practice, it becomes second nature. Don’t get discouraged by initial blobs or uneven patterns—these are just steps toward improvement. Remember, consistency is key, and even small adjustments can make a big difference. Keep experimenting and trusting the process. Ultimately, mastering pour height elevates your latte art, turning simple pours into impressive, professional-looking designs that showcase your skill and dedication.