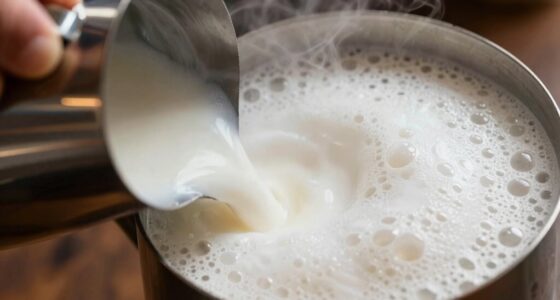
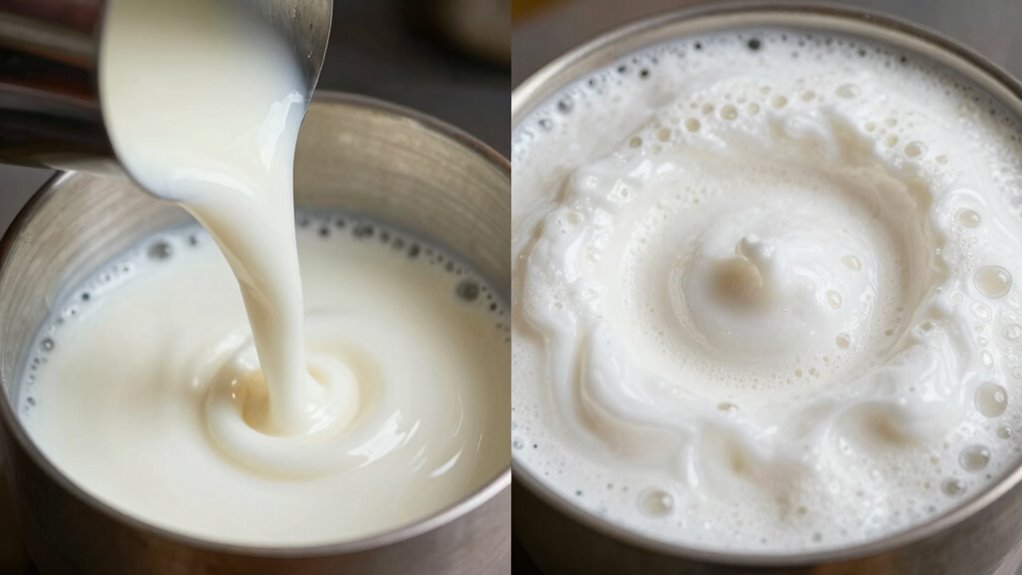
Milk stretching and texturing are two distinct steps in creating the perfect microfoam. Stretching involves introducing air into the milk by controlling the steam wand just below the surface, which helps break down proteins and create initial foam. Texturing, on the other hand, refines that foam into a smooth, velvety microfoam ideal for latte art. Confusing these phases can lead to poor foam quality, but understanding their differences will improve your technique and drink results. Keep going to learn more.
Key Takeaways
- Milk stretching involves introducing air to create microfoam, while texturing refines and smooths that foam for a velvety finish.
- Stretching is the initial phase where air is incorporated; texturing follows to develop uniform, silky microfoam.
- People often confuse the two because both involve steaming milk, but stretching focuses on aeration, and texturing on consistency.
- Proper technique differentiates stretching (air addition) from texturing (foam refinement) for optimal milk microstructure.
- Understanding the phases ensures better control over milk texture, enhancing latte art and overall beverage quality.

Amrules Milk Frothing Pitcher, 12oz Milk Frother Cup with Clear Scale, 304 Stainless Steel Cappuccino Espresso Machine Accessories for Barista Coffee Bar with Latte Art Pen, Silver
304 STAINLESS STEEL: Amrules 12oz creamer pitcher are crafted of 18/8 food grade stainless steel. The pitcher features…
As an affiliate, we earn on qualifying purchases.
As an affiliate, we earn on qualifying purchases.
What Are Milk Stretching and Texturing: and Why Do They Matter?
To truly understand milk stretching and texturing, it’s important to know what they are and why they matter. Both processes involve manipulating milk to create a creamy, velvety texture essential for great espresso drinks. Milk composition plays a key role because proteins and fats influence how the milk foams and stretches. Proper temperature control is essential, as heating milk too much can ruin its texture, while too little prevents proper stretching. When you stretch milk, you’re breaking down its proteins to incorporate air, creating microfoam. Texturing then smooths and refines this foam into a silky consistency. These techniques are crucial because they determine the quality of your latte art and overall drink experience. Mastering them ensures your milk complements the espresso perfectly. Additionally, understanding the role of contrast ratio can help in choosing the right projector settings to better appreciate visual details, much like mastering milk texturing enhances your espresso presentation.
Furthermore, studying the impact of milk proteins can provide deeper insight into achieving consistently excellent foam quality.

Zulay Kitchen Powerful Milk Frother Wand With 2 Duracell Batteries – Ultra Fast Handheld Drink Mixer – Electric Whisk Foam Maker for Coffee, Lattes, Cappuccino, Matcha, Hot Chocolate & Creamer – Black
MAKE RICH, CREAMY FROTH IN SECONDS: We coffee lovers are serious when it comes to our coffee. The…
As an affiliate, we earn on qualifying purchases.
As an affiliate, we earn on qualifying purchases.
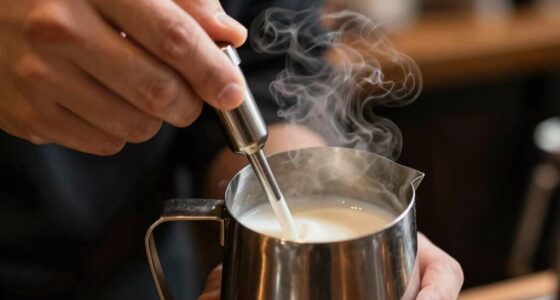
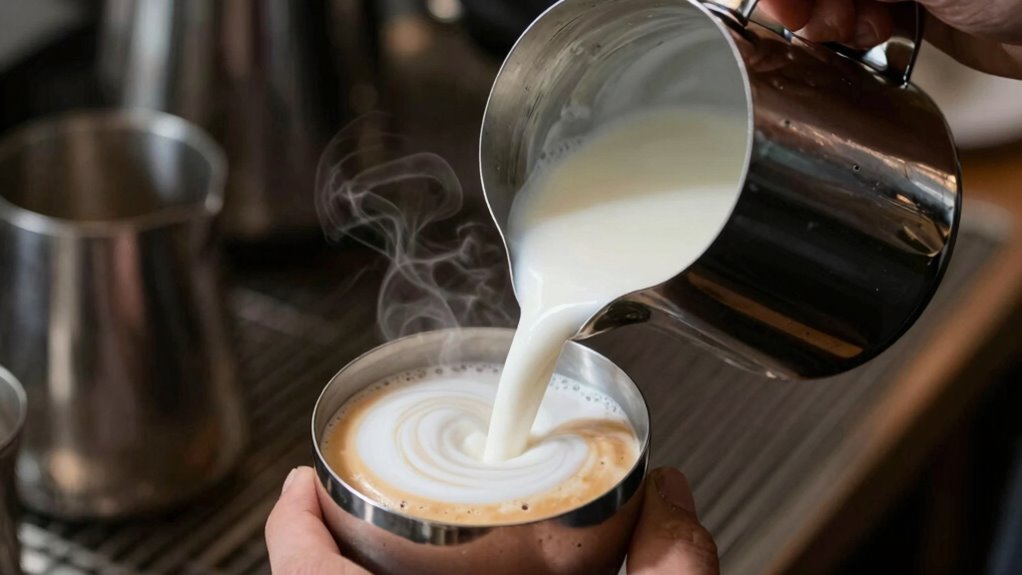
How Does Milk Stretching Prepare the Milk for Frothing?
Milk stretching prepares the milk for frothing by actively breaking down its proteins to incorporate air effectively. This process helps create a stable foam with a smooth texture. As you stretch the milk, the proteins unfold, making it easier for air bubbles to form and integrate evenly. This not only improves the microfoam’s consistency but also enhances the milk flavor by releasing subtle nuances. Your choice of dairy selection plays a significant role; fresh, high-quality milk with the right fat content responds better to stretching, resulting in richer, creamier foam. Proper stretching assures the milk is ready for texturing, helping you achieve the ideal microfoam for your espresso-based drinks. Additionally, understanding the concept of Free Floating can help you better grasp how milk proteins behave during the frothing process. Recognizing the protein structure of milk allows baristas to fine-tune their technique for better results. For example, knowing how protein unfolding occurs during stretching can help optimize the foam quality. A deeper understanding of microfoam stability can also assist in achieving consistent results. Incorporating temperature control during stretching can further improve the final texture and flavor. Overall, it’s a crucial step in preparing the perfect frothing foundation.

Subminimal NanoFoamer Lithium Performance Milk Foamer | USB-C Rechargeable, IP4 Waterproof, Dual-Speed, Stainless Steel | Premium Microfoamed Milk in 30 Seconds, Barista-Style Coffee Drinks at Home
High-Performance Power : Cafe-quality microfoamed milk is now possible with a handheld tool! No need for a costly…
As an affiliate, we earn on qualifying purchases.
As an affiliate, we earn on qualifying purchases.
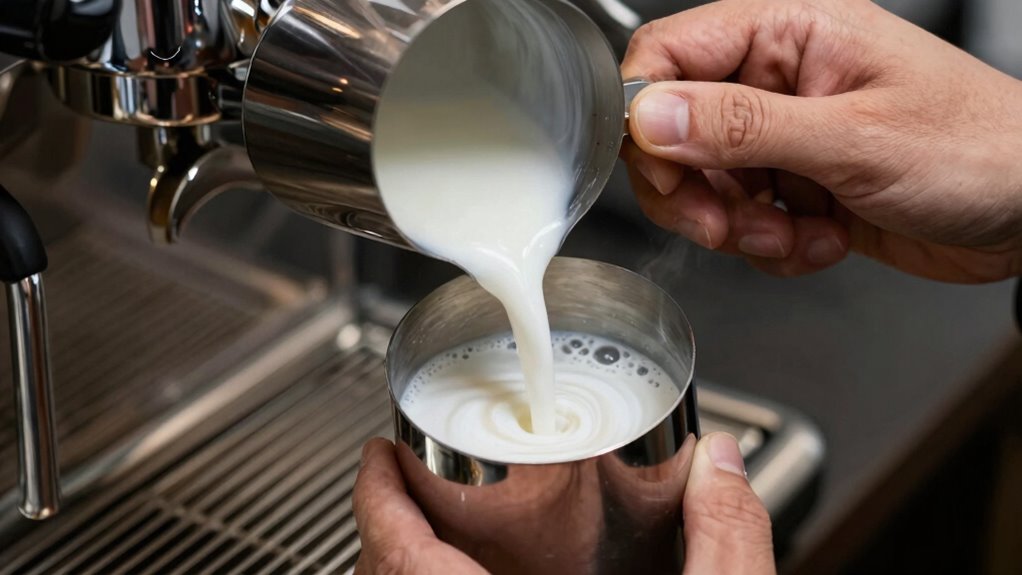
How Can You Texture Milk for a Smooth, Creamy Microfoam?
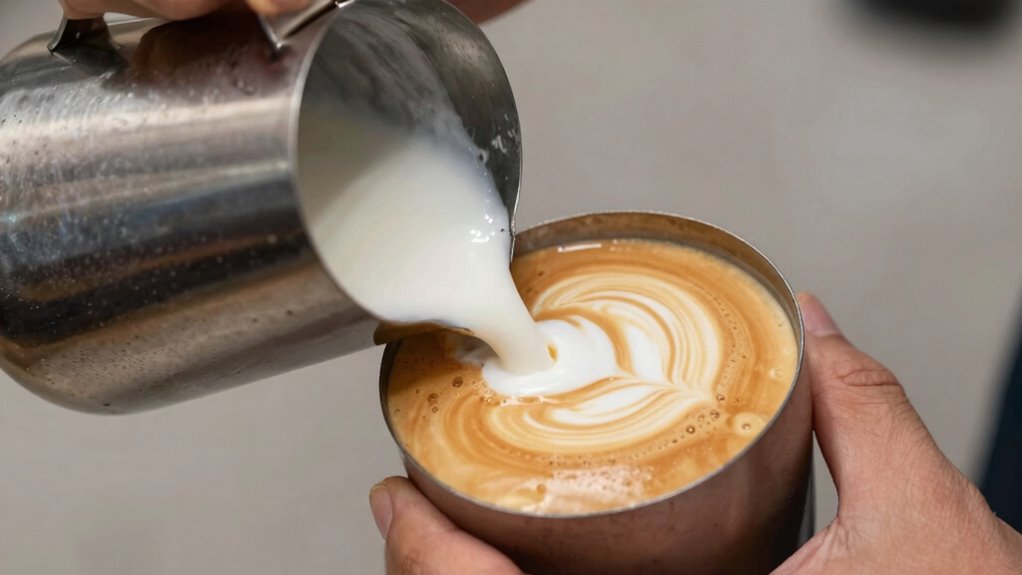
Achieving a smooth, creamy microfoam requires carefully textured milk to create fine, uniform bubbles. To do this effectively, focus on milk temperature and selection. First, verify your milk is fresh and of good quality, as this impacts foam consistency. Second, heat the milk to about 140°F (60°C), which helps develop a rich texture without scorching. Third, position your steam wand just below the surface and introduce air gently, then submerge to incorporate the remaining liquid, creating a velvety microfoam. Proper technique involves steady hand movement and consistent temperature control. The right milk selection, such as whole milk or alternatives with high protein content, will produce better foam. Additionally, understanding the science behind foam formation can help refine your technique for better results. Being aware of the role of proteins in milk can further enhance your ability to produce ideal foam. Recognizing the importance of milk temperature during steaming can prevent overheating and ensure optimal frothing. Paying attention to milk fat content can also influence the creaminess of your microfoam. Mastering milk steaming techniques is essential for consistent results and improving your overall barista skills. With practice, you’ll master the art of creating a smooth, creamy microfoam perfect for your espresso drinks.

Milk Frothing Pitcher 350ml/600ml/900ml/1500ml (12oz/20oz/32oz/50oz) Steaming Pitchers Stainless Steel Milk/Coffee/Cappuccino/Latte Art Barista Steam Pitchers Milk Jug Cup with Art Pen,12oz
Perfect Combination Of Milk Frothing Pitcher And Latte Art Pen: The milk frother jug can be used in…
As an affiliate, we earn on qualifying purchases.
As an affiliate, we earn on qualifying purchases.
How to Recognize If You’re Confusing Milk Stretching and Texturing?
You might notice your milk’s foam isn’t as smooth or creamy as it should be, which can signal confusion between stretching and texturing. Pay attention to signs like the foam’s texture and how it feels during the process. Clues from your technique and the tools you use can also help you tell the difference.
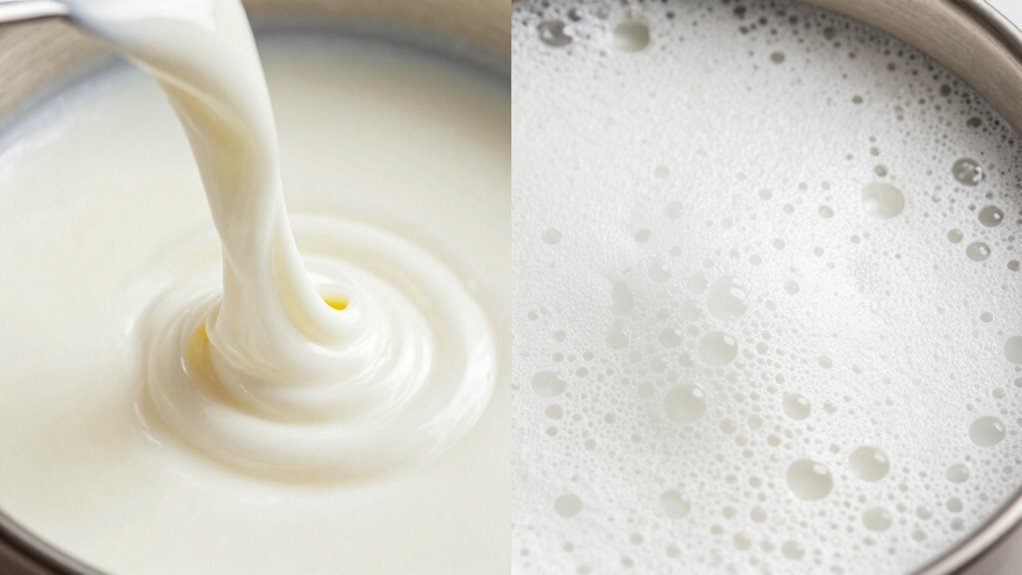
Milk Foam Consistency
How can you tell if you’re confusing milk stretching with texturing? One clue is the milk foam consistency. If your foam is smooth, glossy, and has a velvety texture, you’re likely texturing. Poor foam stability or a runny feel suggests you’re still stretching, not texturing. To assess, consider these points:
- Milk temperature: Proper texturing occurs at around 130-150°F, ensuring the foam holds its shape without collapsing.
- Foam stability: Well-textured milk creates stable microfoam that remains consistent when poured.
- Feel and appearance: Textured milk feels silky and flows smoothly, unlike stretched milk, which can seem thin or bubbly.
Texturing vs. Stretching Signs
Distinguishing between milk stretching and texturing can be tricky, especially since both involve introducing air to the milk. To tell them apart, pay attention to signs like milk temperature and foam stability. When you’re stretching, the milk heats up more quickly, often exceeding 140°F, and the foam may be thin and unstable. In contrast, texturing focuses on creating a silky, velvety microfoam with good foam stability at a slightly lower temperature.
| Sign | Milk Temperature | Foam Stability | Air Incorporation | Texture |
|---|---|---|---|---|
| Stretching | Higher, >140°F | Less stable | Larger bubbles | Thin, airy |
| Texturing | Moderate, ~130°F | More stable | Finer bubbles | Creamy, smooth |
| Both | Varies | Varies | Visible foam | Varies |
| Confusion | Similar signs | Similar signs | Overlap | Overlap |
| Proper | Clear cues | Clear cues | Controlled | Distinct |
Technique and Tool Clues
Have you noticed differences in the tools and techniques used when frothing milk? Recognizing whether you’re stretching or texturing depends on these clues. First, check the milk temperature: stretching typically involves heating milk to around 100-110°F, focusing on increasing volume without too much foam. Second, observe the technique: stretching uses a gentle swirl, aiming to expand milk volume by incorporating air, which affects milk composition. Third, look at your tools: a steam wand with a narrow tip encourages fine texturing, while a wider tip is better for stretching, creating larger bubbles. By paying attention to milk temperature, the way you manipulate the milk, and your equipment, you’ll distinguish between stretching and texturing easily.
Common Mistakes When Frothing Milk: and How to Fix Them
One common mistake when frothing milk is not paying attention to the temperature, which can cause the milk to scorch or not froth properly. Overheating destroys the milk’s proteins, leading to poor foam, while too cold milk struggles to develop proper texture. This mistake is especially relevant if you’re using dairy alternatives like almond or soy milk, which can heat unevenly or scorch easily. Proper storage methods are key; always keep your milk fresh and at the right temperature before frothing. Using milk straight from the fridge can hinder foam formation, so gently warming it to the ideal temperature helps. Avoid overheating or using milk past its expiry date, as this compromises froth quality. Keeping these factors in mind ensures smoother, more consistent frothed milk for your beverages. Additionally, understanding the Gold IRA markets can help you make better investment decisions outside the kitchen. Maintaining the right milk temperature is crucial for achieving the perfect foam texture. Being aware of how different milk types respond to heating can also improve your frothing results. Proper frothed milk technique is essential for baristas and home enthusiasts alike. Moreover, paying close attention to the texture of the foam can help you identify when the milk has been heated to the correct temperature.
Tips to Master Milk Stretching and Texturing for Perfect Latte Art
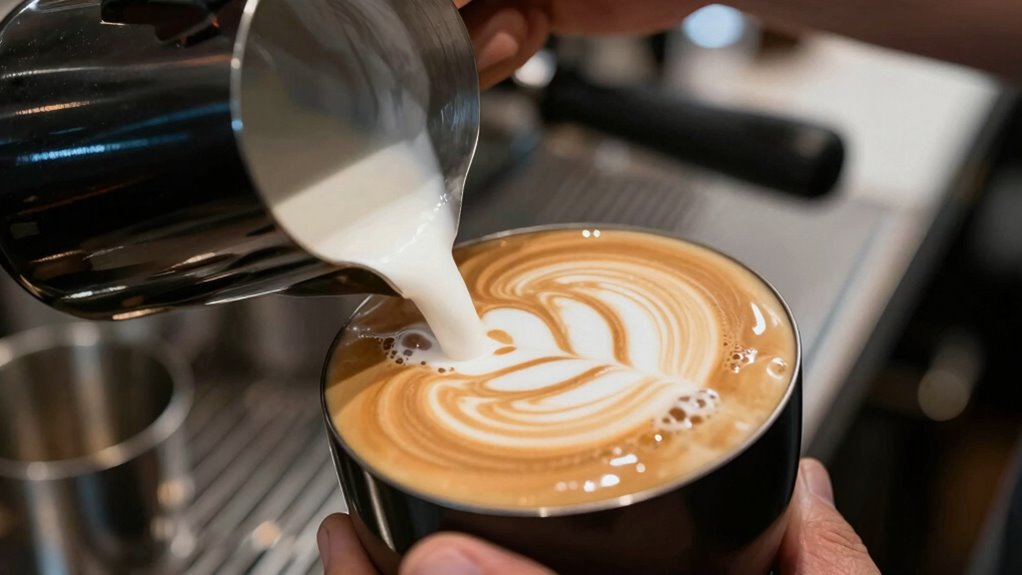
To master milk stretching and texturing, you need to focus on applying proper techniques consistently. Developing the right texture takes practice, so pay attention to how your milk moves and feels. By honing these skills, you’ll create the perfect base for stunning latte art every time. Additionally, understanding the texturing process can help you achieve the ideal microfoam for your designs.
Proper Technique Application
Mastering milk stretching and texturing begins with understanding the importance of precise technique. To achieve perfect results, focus on controlling milk temperature and milk fat content. Proper technique ensures the milk’s microfoam integrates smoothly and maintains the right consistency.
Here are key tips to refine your method:
- Keep your milk around 140-150°F (60-65°C) to prevent overheating and preserve milk fat, which affects texture.
- Position the steam wand just below the surface to introduce air gradually for microfoam development.
- Use steady, consistent movements, tilting the pitcher to create a whirlpool that evenly textures the milk.
Mastering these steps helps you produce silky, glossy milk ideal for latte art.
Consistent Texture Development
Developing consistent milk texture requires attention to detail and deliberate technique. To achieve this, monitor your milk temperature carefully—aim for around 140°F to 150°F—while frothing foam steadily. Properly textured milk should have a silky, glossy appearance with microfoam that integrates smoothly. Use the following table as a guide:
| Milk Temperature | Frothing Foam | Texture Outcome |
|---|---|---|
| 130°F – 135°F | Light bubbles | Thin, airy foam |
| 135°F – 140°F | Small bubbles | Creamy microfoam |
| 140°F – 150°F | Dense foam | Velvety texture |
| 150°F – 155°F | Overheated | Watery, loses foam quality |
Consistent practice with these parameters will help you develop the perfect, uniform milk texture for stunning latte art.
When and Why to Adjust Milk Techniques for Different Coffee Drinks
Adjusting your milk techniques is essential because different coffee drinks demand specific textures and temperatures to achieve the perfect balance of flavor and presentation. For example, you might need a higher milk temperature for a hot latte or a thicker foam for a cappuccino. Here’s what to contemplate:
- Milk Temperature: Use hotter milk for drinks like lattes, ensuring it’s not too hot to maintain sweetness and avoid burning, which affects flavor. Proper temperature control also helps prevent scorching, which can compromise the milk’s taste and texture.
- Foam Stability: For drinks like cappuccinos, focus on creating denser foam with better foam stability to hold latte art.
- Texture Requirements: Adapt stretching and texturing to match the drink—lighter for flat whites, thicker for macchiatos—to ensure each beverage looks and tastes just right. Proper technique also involves understanding milk temperature to prevent scorching and preserve sweetness.
Frequently Asked Questions
Can Different Types of Milk Require Different Stretching or Texturing Techniques?
Yes, different types of milk require different stretching or texturing techniques. Milk composition, including fat and protein levels, affects how it froths and textures. Dairy alternatives like almond or soy milk have different properties, so you might need to adjust your technique accordingly. For example, plant-based milks often need gentle steaming to prevent separation. Experimenting helps you find the ideal approach for each milk type to achieve the best foam.
How Does Temperature Affect the Quality of Milk Stretching and Texturing?
You’ll find that milk temperature directly impacts milk quality during stretching and texturing. When milk is too cold, it’s harder to create smooth, velvety microfoam, and the texture may be less integrated. Conversely, overly hot milk can scald, ruining flavor and causing poor texture. Keep your milk at a steady, ideal temperature—around 140-150°F—to guarantee the best texture and overall milk quality for your drinks.
Is There a Specific Order to Perform Stretching and Texturing?
You should perform milk frothing in a specific order: start with stretching to incorporate air, then switch to texturing to heat and develop foam consistency. This sequence guarantees your milk reaches the right temperature and creates a smooth, velvety texture. By following this order, you prevent over-aerating or under-heating, resulting in better milk frothing and a perfect foam consistency for your espresso drinks.
How Do I Troubleshoot if My Milk Doesn’T Develop Microfoam Properly?
Ever wonder why your milk frothing feels more like a milkshake than a silky cloud? To troubleshoot microfoam issues, check your milk temperature—aim for 140-150°F—and make certain your steam wand is properly positioned just below the surface. If texture troubleshooting persists, adjust the angle and speed of your steam wand, and make sure you’re not over or under-steaming. Practice makes perfect—your microfoam will thank you.
What Tools or Equipment Improve Milk Stretching and Texturing Skills?
To improve your milk frothing and steaming techniques, invest in a high-quality steam wand and a thermometer to monitor temperature. Use a milk frothing pitcher with a narrow spout for better control. Practice precise steaming techniques, focusing on consistent steam pressure and positioning. These tools and techniques help you develop better milk stretching and texturing skills, ensuring smooth microfoam and perfectly textured milk for your drinks.
Conclusion
Don’t let confusion hold you back from mastering milk techniques. Whether you’re stretching or texturing, understanding their differences guarantees your milk has the right consistency for perfect lattes and cappuccinos. It might seem tricky at first, but with practice, you’ll see your skills improve and your drinks become more impressive. Keep experimenting and trusting your instincts—you’ll soon be confidently creating smooth, creamy microfoam that wow’s everyone.