

One common mistake beginners make is pouring too quickly or from the wrong height, which causes uneven or messy latte art. When you pour too fast or from too high, the milk can splash, disrupting your design, or flow unevenly, making your patterns dull. To improve, focus on controlling your pour speed, angle, and height for smoother, sharper designs. Keep practicing these techniques, and you’ll find your latte art getting better with each attempt.
Key Takeaways
- Beginners often pour too quickly or from too high, causing splashing and uneven latte art patterns.
- Inconsistent milk foam texture, such as over-steamed or under-frothed milk, hampers design sharpness and flow.
- Lack of steady hand control and improper pour angle lead to messy or dull latte art results.
- Not monitoring milk temperature can cause control issues and affect microfoam quality.
- Failing to practice with visual cues and goal setting limits progress and consistency in latte art pouring.
Why Your Milk Pour Might Be Messing Up Your Latte Art
If your latte art isn’t turning out as sharp or smooth as you’d like, the way you pour your milk could be to blame. Proper milk frothing creates the right microfoam, which is essential for smooth pouring and clean designs. If your milk isn’t frothed correctly, it might be too thin or too thick, resulting in uneven or messy patterns. Additionally, the right latte temperature—usually between 140-150°F—helps keep the milk silky and easy to pour. When the milk is too hot, it can be too runny, making it difficult to control the pour. Too cold, and it won’t blend smoothly into the espresso. Mastering milk frothing and maintaining the correct latte temperature are vital steps toward achieving sharp, consistent latte art. Using a thermometer can help ensure you hit the optimal temperature range for ideal microfoam consistency.
How Pour Speed and Height Affect Your Design
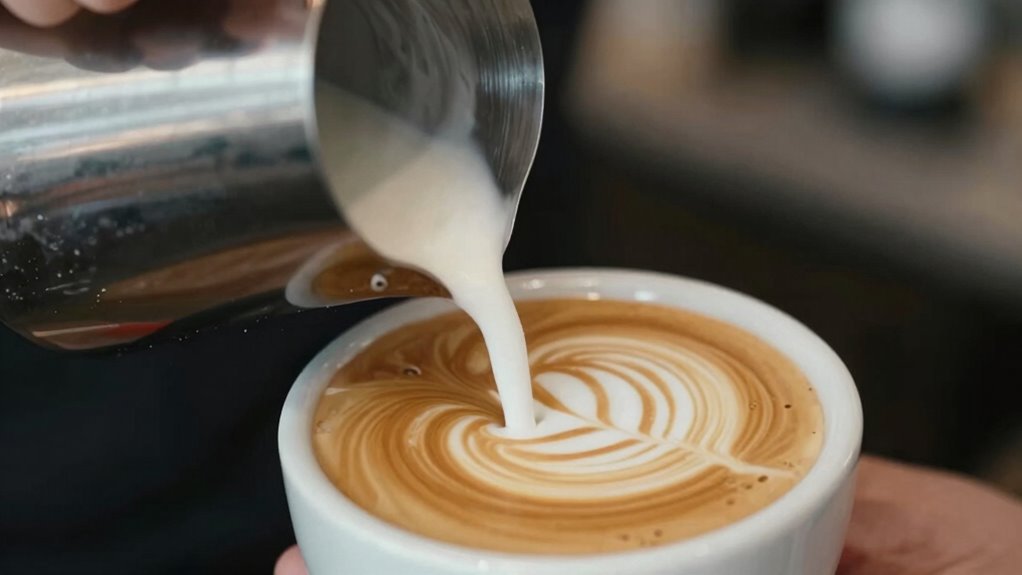
The way you control your pour speed and height can make or break your latte art. Your pouring angle influences how the milk interacts with the espresso, affecting flow and design detail. A steeper angle accelerates the pour, creating a more vigorous flow, while a shallower angle gives you more control for delicate patterns. Cup positioning also plays a role; keeping the cup steady and at the right height guarantees the milk reaches the surface smoothly. Pouring from too high causes splashing and uneven designs, while pouring too low can disrupt the flow. Adjust your pour speed gradually, maintaining a consistent height and angle to create clean, sharp patterns. Consistent pouring technique is essential for achieving professional-looking latte art. Mastering these factors gives you better control and leads to more precise latte art.
Common Pouring Mistakes Beginners Make: and How to Fix Them
Many beginners struggle with pouring techniques that hinder their latte art progress. One common mistake is inconsistent latte foam consistency, which affects how well you can create detailed designs. If your foam is too frothy or too runny, it won’t flow smoothly or hold its shape. Another issue is using the wrong coffee bean grind; a grind that’s too coarse causes poor extraction, resulting in thin, weak milk, while too fine a grind can lead to over-extraction and bitter flavors. To fix these problems, focus on achieving a silky, microfoam texture by adjusting your milk steamer and ensuring your coffee beans are ground evenly. Properly prepared latte foam and grind consistency form the foundation for successful pouring and beautiful latte art. Additionally, understanding the importance of European cloud innovation can inspire you to explore advanced techniques and tools that enhance your brewing process.
Step-by-Step Guide to Perfecting Your Milk Pour Technique

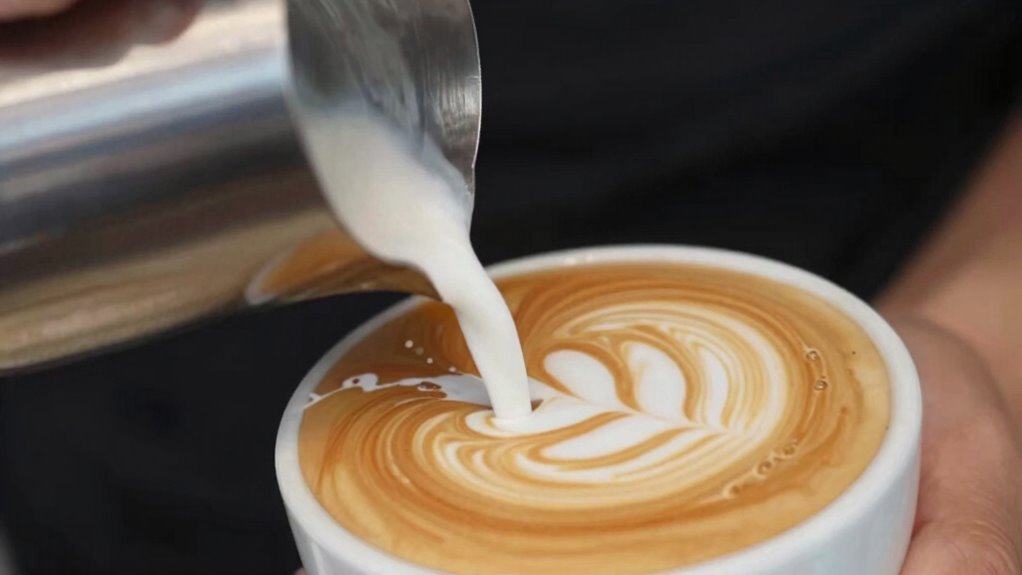
Mastering your milk pour technique is essential for creating stunning latte art. Start with properly frothed milk—aim for a smooth, velvety microfoam through attentive milk frothing. Use the right latte art tools, like a steady pitcher and a clean, narrow spout, to control your pour. Begin by pouring from a higher distance to settle the milk and then gradually lower the pitcher as you pour more slowly. Keep your wrist steady and pour in a controlled, thin stream, focusing on the center of the cup. As you gain confidence, adjust your pour speed and angle to create intricate designs. Practice consistently, paying attention to the texture of your milk and the precision of your pour, which are key to perfecting your latte art technique. Developing a good pouring technique ensures you can execute complex designs with control and finesse.
Troubleshooting Flat or Messy Latte Art While Pouring

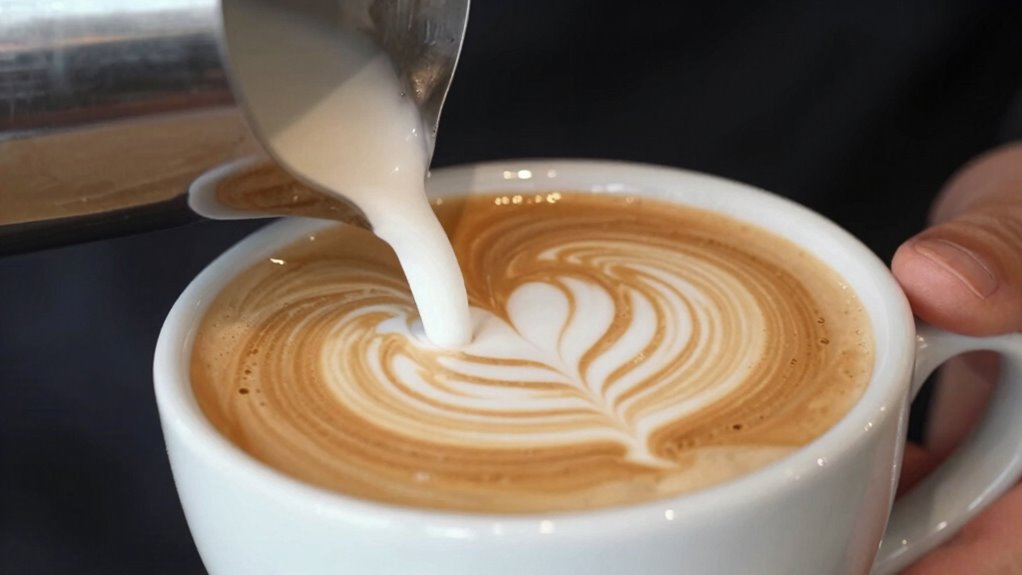
When your latte art turns out flat or messy during pouring, it usually indicates issues with your technique or milk texture. Frosted latte art or uneven foam consistency can cause the design to fall flat. To troubleshoot, ensure your milk has a smooth, velvety texture—too frothy or too thin can ruin the flow. Adjust your pouring height and speed to control how the milk interacts with the espresso. Here’s a quick guide:
| Issue | Solution |
|---|---|
| Flat or dull design | Use properly textured, glossy milk with good foam consistency |
| Messy or inconsistent pour | Pour slowly and steadily, maintaining a consistent flow |
| Frosted latte art | Avoid over-steaming; aim for silky, microfoam |
| Uneven pattern | Keep the pitcher close to the surface, steady flow |
| Broken or blurry | Check milk temperature and texture before pouring |
Additionally, understanding the importance of microfoam can help you achieve more intricate and stable designs.
Tips for Steady Hands and Consistent Pouring Flow

Maintaining steady hands and a smooth pouring flow is essential for creating crisp, symmetrical latte art. To achieve this, focus on grip stability; hold the pitcher firmly but comfortably, avoiding unnecessary tension. Keep your wrist relaxed to prevent hand fatigue, which can cause uneven pours. Practice consistent movement by using your shoulder and arm rather than just your wrist, ensuring fluid motion. Regularly check your posture to stay balanced and reduce strain. Incorporate simple routines that promote muscle memory and improve technique over time.
- Use a light grip to prevent fatigue and maintain control
- Rest your elbow on the counter for added stability
- Practice slow, deliberate pours to develop muscle memory
- Take short breaks to avoid hand fatigue during long pouring sessions
How Milk Texture and Temperature Impact Your Pour
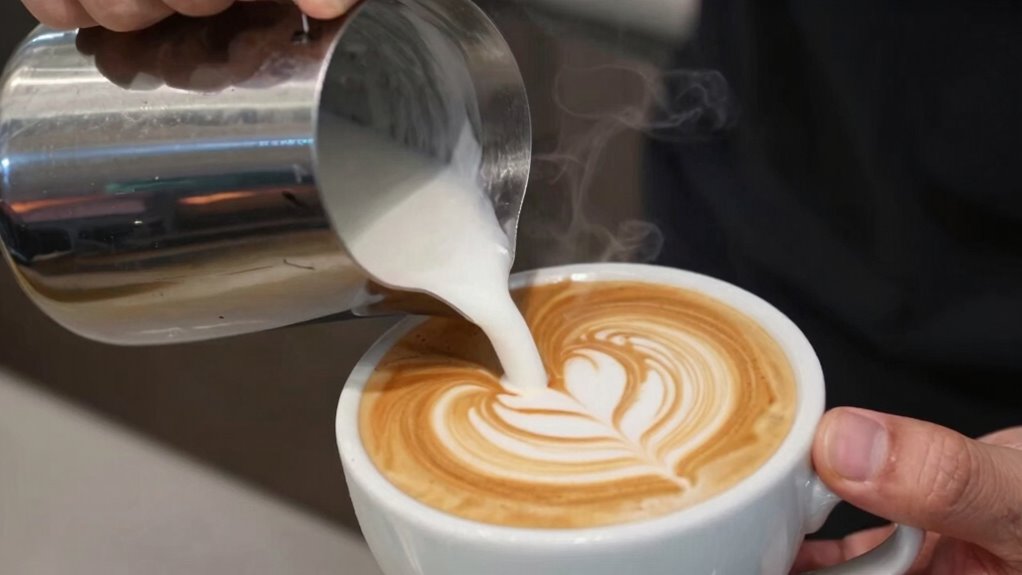
The texture and temperature of your milk directly influence how smoothly it pours and how well the latte art holds its shape. Proper milk frothing creates a silky, microfoam that flows easily without breaking or splattering. When you achieve the right texture, your pour becomes more controlled, allowing for better design execution. Temperature control is equally important; milk that’s too hot can cause it to become thin and difficult to manipulate, while milk that’s too cold won’t blend smoothly or create the desired microfoam. Ideally, aim for around 140°F (60°C) to ensure best consistency. Maintaining the correct milk temperature helps prevent issues like curdling or separation, ensuring a smoother pour. By focusing on milk frothing and maintaining precise temperature control, you’ll improve your pour, making your latte art cleaner, more defined, and easier to replicate.
Practicing Your Pour: How to Track Your Progress and Improve

Practicing your pour consistently is essential for improving your latte art skills. To do this effectively, you need to track your progress by monitoring both your consistency and pour timing. Keeping a journal of each pour helps identify patterns and areas needing improvement. Focus on maintaining steady hand movements and uniform flow to enhance tracking consistency. Timing your pours precisely ensures better control over the design process, preventing rushed or uneven results. Additionally, paying attention to your technique and how it evolves over time can lead to more refined and beautiful designs.
- Record your pour duration and flow rate after each attempt
- Note the quality of your designs and any recurring mistakes
- Use visual cues, like foam placement, to assess consistency
- Set specific goals for each session to measure progress over time
Frequently Asked Questions
What Tools Are Best for Beginners Learning Latte Art?
For beginners learning latte art, a stainless steel pitcher with a comfortable grip is your best tool. Focus on milk frothing techniques to create smooth, velvety microfoam, and experiment with pitcher grip styles to control your pour better. Look for a pitcher with a narrow spout for precision, helping you achieve those beautiful designs. Practice consistently, and you’ll improve your latte art skills faster!
How Long Should I Practice Before Seeing Improvement?
Like planting a seed, your latte art skills grow with time. You should practice patience and consistent effort, and usually, after about 2-4 weeks of regular practice, you’ll notice improvement. Every pour is a step closer to mastery. Keep experimenting, stay persistent, and trust that your skill will blossom. Remember, even the best baristas started with small, imperfect pours before perfecting their craft.
Can I Fix Mistakes in My Latte Art After Pouring?
Yes, you can fix mistakes in your latte art after pouring by using touch-up techniques and pouring corrections. Gently swirling or using a toothpick can help refine shapes or fix small flaws. If needed, lightly pouring more milk or using a steam wand can reshape or smooth out the design. Practice these pouring corrections regularly, and you’ll improve your control and accuracy over time, making your latte art look cleaner and more professional.
Does the Type of Milk Affect My Latte Art Quality?
Yes, the type of milk affects your latte art quality. Using whole milk with the right milk temperature and proper milk frothing techniques creates a smoother, creamier foam that’s easier to pour into intricate designs. Skim or alternative milks may produce different textures, making it harder to achieve fine details. Experiment with different milk types, verify your milk is properly heated, and master your frothing techniques to improve your latte art skills.
Are There Specific Coffee Beans That Help With Latte Art?
Yes, certain coffee beans can improve your latte art. Opt for beans with a medium roast, which balance flavor and crema formation, making pouring easier. Freshly roasted beans with a consistent grind size help produce better microfoam, essential for latte art. Adjust your bean grind size to guarantee proper extraction; a slightly finer grind can enhance crema, giving you a smoother canvas for your designs.
Conclusion
Now that you know the common pitfalls and how to fix them, it’s time to practice with intention. Every perfect pour brings you closer to stunning latte art—but don’t get discouraged if it doesn’t happen overnight. Keep experimenting, stay patient, and watch your skills grow. The real secret isn’t just in the technique, but in what you discover along the way. Are you ready to turn your next pour into a masterpiece?