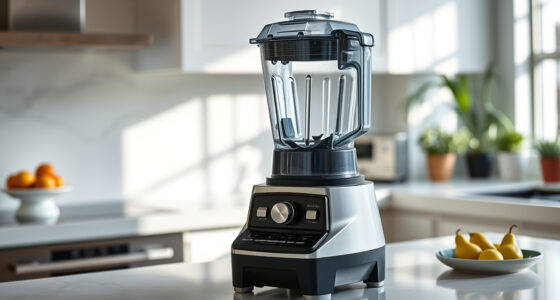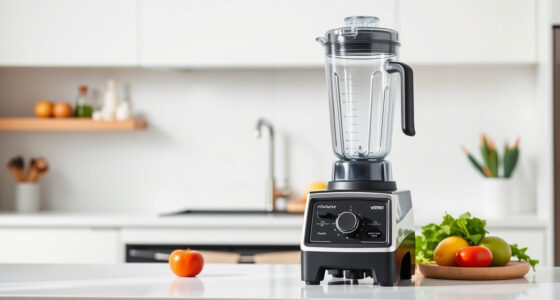
Maintaining your Vitamix A3500 is essential for optimal performance and longevity. Proper cleaning prevents buildup, ensures hygiene, and keeps your blender operating at peak efficiency. This guide provides simple, practical steps to clean your Vitamix safely and effectively.

Get kitchen gear delivered free — and shop member deals
- Fast, free delivery on millions of items
- Access to Prime Big Deal Days deals on October 6–7
- Prime Video, Amazon Music and more included
Follow these instructions carefully to keep your blender in top shape without risking damage to its components.
Prepare Your Vitamix
- Unplug the blender from the power outlet to ensure safety during cleaning.
- Remove the container from the base and detach the lid, lid plug, and tamper, if used.
Clean the Container and Lid
- Rinse the container and lid with warm water immediately after use to remove residue.
- Wash with warm, soapy water using a soft sponge or brush. Avoid abrasive scrubbers that could scratch the surface.
- For stubborn stains or odors, blend a mixture of warm water and a few drops of dish soap for 30 seconds, then rinse thoroughly.
Clean the Blades and Base
Do not submerge the motor base in water. Instead, wipe it down with a damp cloth. For the blades, carefully wipe with a damp cloth or soft brush to remove any residual buildup.
If the blades are particularly dirty or sticky, remove the wet blade assembly (if compatible) and soak it in warm, soapy water for a few minutes before scrubbing gently.
Disinfect and Dry
- Disinfect the container and lid with a solution of equal parts water and white vinegar or a mild disinfectant spray. Rinse thoroughly.
- Dry all parts completely with a clean towel or let them air dry before reassembling.
Reassemble and Test
- Once all parts are dry, reassemble the container, lid, and tamper.
- Plug in the blender and run a quick cycle with just warm water and a drop of dish soap to ensure everything is clean and functioning properly.
Products That Help
Vitamix Wet Blade Assembly

The Vitamix Wet Blade Assembly is designed for quick replacement and handles everything from crushing ice to making smooth purées. Compatible with older models, this blade assembly ensures your Vitamix stays in top condition.
Pros:
- Hardened stainless steel for durability
- Quiet operation with double bearings
- Easy to replace and clean
- Handles tough ingredients
Cons:
- Not compatible with newer containers
- Only for older models
Best for: Replacing worn or damaged blades on compatible Vitamix models
Not ideal for: For newer containers or models outside compatibility
Bottom line: A reliable, durable blade assembly for older Vitamix models needing replacement.
Frequently Asked Questions
Can I put the container in the dishwasher?
Yes, most Vitamix containers are dishwasher safe, but check your specific model’s instructions to ensure compatibility.
How often should I clean my Vitamix?
Clean your Vitamix after every use to prevent residue buildup and maintain optimal performance.
What should I do if my blades are stuck?
Unplug the blender and gently try to loosen the blades by tapping or using a soft brush. Do not force or use metal tools to avoid damage.
Can I use bleach to disinfect my Vitamix parts?
It’s best to avoid bleach. Use white vinegar or mild disinfectants to safely sanitize your blender parts.
Affiliate disclosure: As an Amazon Associate we earn from qualifying purchases. Prices and availability are accurate as of the time of publishing.
Evergreen bestsellers Picks
bestsellers
As an affiliate, we earn on qualifying purchases.