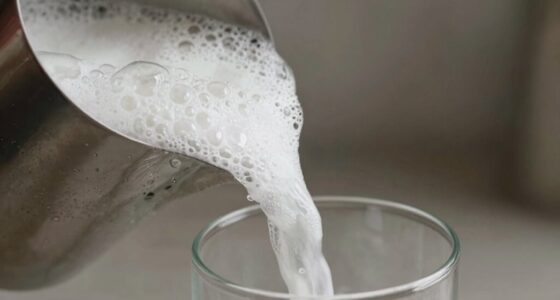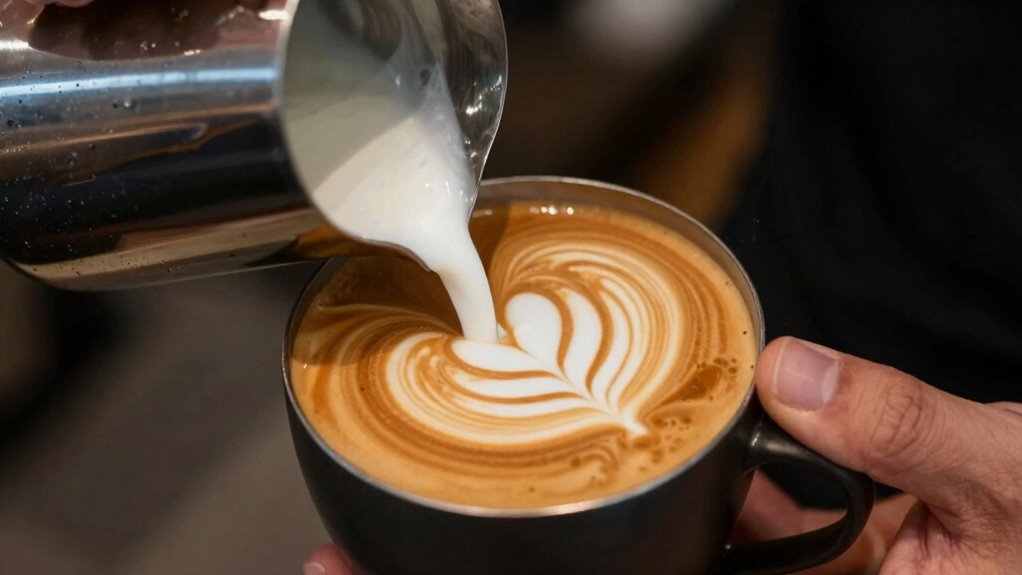

To master latte art, keep your pour height steady—about 1-2 inches above the espresso surface—and maintain a consistent pour speed. Staying close enough gives you control over the milk flow, helping create sharp, clear designs, while steady pace guarantees even distribution and prevents splashing. Focus on these two elements working together, and you’ll see your patterns improve. If you want to learn how to fine-tune these skills, there’s more to discover.

Get kitchen gear delivered free with Prime
- Fast, free delivery on millions of items
- Prime Video, Amazon Music and more included
- Member-only deals all year
Key Takeaways
- Keep the milk pitcher 1-2 inches above the espresso surface to control foam flow and pattern sharpness.
- Maintain a steady, consistent pour speed to ensure even milk distribution and precise designs.
- Adjust pour height and speed based on foam quality and espresso crema for optimal latte art results.
- Use silky, microbubbled foam for better flow control and sharper pattern details.
- Practice combining proper pour height and speed to develop a simple, effective rule for consistent latte art.
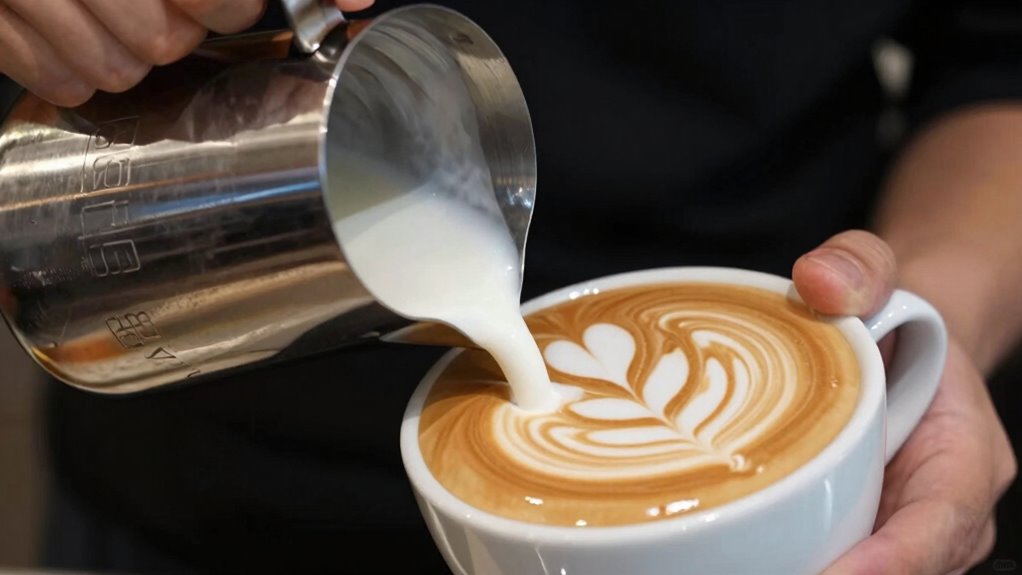
Latte art transforms a simple cup of coffee into a visual delight by skillfully pouring steamed milk into espresso to create intricate patterns and designs. To master this art, you need to understand the critical role of pour height and speed, which hinge on proper milk foam techniques and the quality of your espresso. These elements work together to produce the perfect canvas for your designs. First, focus on your milk foam techniques. The foam must be silky smooth, with microbubbles that create a velvety texture. When pouring, keep your milk pitcher close to the surface of the espresso, about 1-2 inches high, to ensure the foam hits the coffee with controlled precision. This close pour height allows the milk to spread evenly across the espresso, creating a smooth, uniform layer that’s essential for detailed latte art. As you pour, maintain a steady, consistent speed; too fast, and the foam will splash or create uneven patterns, too slow, and it won’t flow smoothly. Practice pouring with a steady hand, controlling your speed to allow the milk to flow gently and steadily, giving you better control over the design. The consistency of your milk foam and the precision of your pour are also influenced by the quality of your espresso, which acts as a crucial foundation for successful latte art. A well-pulled shot with a rich crema provides a stable surface that supports the foam and helps in creating sharp, defined patterns. If your espresso lacks crema or is too thin, your latte art will be less precise and harder to control. Use fresh, high-quality beans and grind them just before brewing to ensure your espresso has the right consistency. A good espresso’s aroma, flavor, and crema all contribute to the overall experience, but it’s the crema that acts as a natural canvas for your milk. When the espresso quality is exceptional, the contrast between the dark coffee and the white foam enhances the visual impact of your designs.
As an affiliate, we earn on qualifying purchases.
Frequently Asked Questions
How Does Milk Type Affect Pour Height and Speed?
Your choice of milk type affects pour height and speed because different milk textures require adjustments. For example, whole milk’s richer texture lets you pour from a higher height with steady speed, creating smooth patterns. Skim milk, being thinner, needs a lower pour height and quicker pour to avoid breaking the foam. Modify your pours based on milk texture, experimenting with height and speed to achieve perfect latte art.
Can Beginner Baristas Master Latte Art Quickly?
Yes, you can master latte art quickly, especially with practice focusing on foam stability and creating a clear heart shape. As a beginner, you should concentrate on consistent pouring technique, maintaining steady hand movement, and controlling pour height and speed. With dedication, you’ll improve your skills faster, making beautiful patterns and enhancing your overall coffee presentation. Keep practicing, and you’ll see progress sooner than you might expect.
What Tools Are Best for Practicing Pour Techniques?
You should use a stainless steel pitcher for practicing pour techniques, as it offers good control for milk frothing and pouring consistency. A thermometer helps monitor milk temperature, ensuring smooth frothing. Start with a narrow spout pitcher to control pour height and speed, which are vital for creating latte art. Consistent milk frothing and precise pour consistency make mastering pour techniques easier, helping you develop confident, beautiful designs quickly.
How Does Temperature Influence Foam Consistency?
Temperature plays a vital role in milk frothing; if you don’t control it well, the foam can become too hot or cold, affecting its consistency. When you maintain proper temperature control, around 140-150°F, the milk frothing process yields smooth, velvety foam ideal for latte art. Too high a temperature can create overly stiff foam, while too low results in thin, bubbly froth. Keep an attentive eye on temperature to perfect your foam.
Are There Specific Pour Patterns for Different Latte Art Designs?
Did you know that specific pour patterns can dramatically improve your latte art? You should use different pour techniques to achieve various designs, as this impacts milk texture and pour consistency. For example, a slow, steady pour creates a smooth, velvety surface ideal for hearts, while a quicker pour helps form rosettas. Experimenting with these patterns allows you to control the flow and make your latte art more precise and impressive.
As an affiliate, we earn on qualifying purchases.
Conclusion
Mastering pour height and speed is like tending a garden—you need patience, precision, and a gentle touch. When you find that perfect balance, your latte art blooms beautifully, transforming simple milk and espresso into a work of art. Keep practicing, stay attentive, and let your skills grow naturally. Soon, each pour will be a masterpiece, a delicate dance where your hands become the artist’s brush—creating stunning designs that captivate and delight.
As an affiliate, we earn on qualifying purchases.
As an affiliate, we earn on qualifying purchases.
Halloween Picks
halloween
As an affiliate, we earn on qualifying purchases.